Targeted, inexpensive changes are the most reliable cost-effective ways to update tired interiors without the stress or expense of a full remodel. Interior designers call this approach “micro-renovation,” a term for small-scale, low-cost updates that deliver outsized visual results. Micro-renovations typically cost $600 to $1,200, complete in one to three days, and deliver roughly 80% of the impact of a major remodel at 20% of the effort. For homeowners and renters who want a fresher space without gutting their savings, this is the most practical path forward.
What are the best cost-effective ways to update tired interiors?
Paint is the single highest-return update you can make to any room. Interior paint delivers 107% ROI, making it one of the few home improvements that returns more than you spend. A DIY paint job for a full home runs $200–$600, while hiring a professional costs $1,500–$4,000. The gap between those two numbers is your best argument for picking up a roller yourself.
The most common mistake homeowners make is skipping primer. Primer seals porous surfaces, improves adhesion, and prevents bleed-through from old stains or dark colors. Without it, you often need three or four coats instead of two, which wastes both time and paint. Self-leveling formulas like Benjamin Moore Advance are worth the extra cost for cabinets and trim because they dry to a smooth, factory-like finish.
Color choice matters more than most people realize. Consistent color across walls, trim, and ceiling creates a cohesive, modern feel that a single accent wall rarely achieves. Trending shades like soft gray, warm white, and sage green photograph well and appeal broadly, which matters if you plan to sell. Avoid high-gloss finishes on walls since they highlight every imperfection in the surface.
- Clean and lightly sand surfaces before painting for better adhesion
- Apply painter’s tape along trim and outlets for clean edges
- Use a high-quality roller cover (3/8-inch nap for smooth walls)
- Paint in natural daylight to catch missed spots
- Allow full cure time (72 hours for latex) before washing or hanging items
Pro Tip: Paint on dry days with low humidity. High moisture slows drying, causes streaking, and weakens adhesion, especially on trim and cabinets.
What lighting upgrades yield the biggest atmosphere boost on a budget?
Lighting is the most underestimated variable in how a room feels. Replacing cool-toned overhead bulbs with warm LED bulbs costs roughly $10 per bulb and requires no contractor. Warm LEDs (2,700–3,000 Kelvin) make skin tones look healthier, colors appear richer, and rooms feel more inviting. That single swap changes the entire mood of a space.
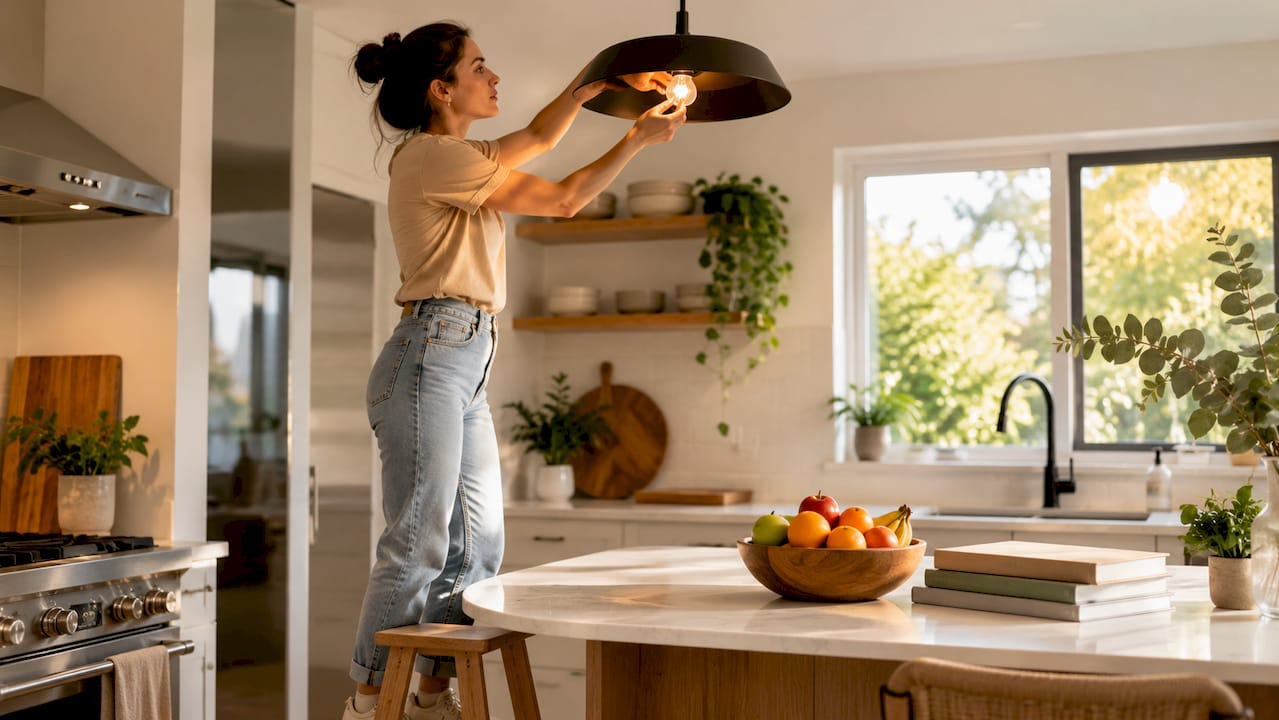
Layering light sources is the professional technique that separates flat, institutional rooms from comfortable ones. A single overhead fixture creates harsh shadows and uneven brightness. Adding a floor lamp in a dark corner, a table lamp on a side table, and under-cabinet lighting in a kitchen creates depth and warmth that overhead lights alone cannot produce.
Smart bulbs with color temperature adjustment cost $30–$60 each and give you full control over ambiance without rewiring anything. Dimmer switches, which typically cost $15–$25 and install in under 30 minutes, are one of the highest-value upgrades per dollar spent. If you are not comfortable working with wiring, hire a licensed electrician for any fixture replacement that involves junction boxes or circuit work.
- Swap cool fluorescent bulbs for warm LEDs (2,700–3,000 Kelvin)
- Add a floor lamp or arc lamp to dark corners
- Install a dimmer switch on your main overhead circuit
- Use plug-in sconces as a renter-friendly alternative to hardwired fixtures
- Place lamps at eye level when seated for the most flattering light
Pro Tip: Before buying new fixtures, try changing only the bulbs. A $10 warm LED can make a dated fixture look intentional and stylish.
Which hardware and fixture swaps deliver a quick style update?
Cabinet and door hardware is the jewelry of a room. Worn brass knobs, loose handles, or mismatched pulls date a kitchen or bathroom faster than almost anything else. Refinishing old hardware with spray paint saves roughly $200 compared to full replacement and takes an afternoon. Matte black, brushed nickel, and oil-rubbed bronze are the finishes that read as current and coordinate with the widest range of cabinet colors.
When replacing hardware entirely, measure the existing hole spacing before ordering anything. Cabinet pulls use a center-to-center measurement, typically 3 inches or 3.75 inches for standard drawers. Ordering the wrong size means drilling new holes, which adds work and risk of damage. Most home improvement stores carry a solid range of affordable options, and online retailers often offer bulk pricing for full-kitchen sets.
- Remove all existing hardware and clean the surfaces thoroughly
- Lightly sand metal hardware if refinishing, then apply a bonding primer
- Apply two thin coats of spray paint in your chosen finish
- Allow 24 hours of cure time before reinstalling
- Use a template or painter’s tape to align new hardware consistently across all doors
Faucet replacement follows the same logic. A builder-grade faucet in brushed nickel or matte black costs $60–$120 and installs in under two hours with basic plumbing knowledge. The visual upgrade relative to cost is significant. Light fixtures in dining rooms and bathrooms follow the same principle: a $80–$150 fixture swap reads as a deliberate design choice rather than a budget patch.
Pro Tip: Buy one extra knob or pull when ordering hardware. Finishes change between production runs, and a replacement purchased six months later may not match exactly.
How can textiles and decor accessories refresh tired spaces affordably?
Textiles do the heavy lifting in rooms where paint and lighting have already been addressed. A new area rug redefines the boundaries of a seating area, adds texture underfoot, and introduces color without touching a single wall. Layering a smaller vintage or patterned rug over a neutral jute base layer is a technique used widely in professionally styled rooms and costs far less than a single large statement rug.
Throw pillows and curtains are the fastest way to introduce a new color palette or seasonal update. Curtains hung close to the ceiling and extending to the floor make ceilings appear taller and windows appear larger. This is a visual trick that costs nothing extra beyond choosing the right rod placement. Linen and cotton blends in neutral tones work in almost any room and age well.
Intentional minimalism, the “less is best” approach, creates more impact than filling shelves with inexpensive accessories. Three well-chosen objects on a shelf read as curated. Twelve random items read as clutter. Sourcing from resale shops, estate sales, and end-of-season clearance racks gives you access to quality pieces at a fraction of retail price.
- Choose rugs with low pile for easy cleaning in high-traffic areas
- Hang curtains 4–6 inches above the window frame to maximize perceived height
- Limit decorative objects to odd-numbered groupings (3 or 5 per surface)
- Coordinate pillow colors with one element already in the room (rug, art, or paint)
- Replace synthetic throw blankets with cotton or wool for a more refined look
Pro Tip: Avoid buying textiles in sets. Mixing patterns and textures from different sources creates a layered, collected look that sets rarely achieve.
What role do decluttering and furniture arrangement play in refreshing interiors?
Decluttering is the foundation of every successful room refresh, and it costs nothing. Removing visual noise makes rooms feel larger, cleaner, and more intentional. A room full of objects competes for attention and dilutes the impact of every other update you make. Clear the room first, then decide what earns its place back.
Deep cleaning follows decluttering and has a similar effect. Baseboards, window sills, light switch plates, and grout lines accumulate grime that dulls every surface in a room. Cleaning these areas brightens colors, improves light reflection, and makes existing finishes look fresher without spending a dollar on new materials.
- Remove everything from surfaces and floors
- Deep clean all surfaces, including walls, baseboards, and windows
- Identify the room’s natural focal point (fireplace, window, or TV wall)
- Arrange furniture to face or frame that focal point
- Create clear pathways of at least 36 inches between furniture pieces
Furniture rearrangement is the most underused free tool in interior refreshing. Clearing visual pathways and creating focal points resets space perception more effectively than most purchases. Pulling furniture away from walls, even by a few inches, creates depth and makes rooms feel less rigid.
“Start with what you have before spending anything. A rearranged, decluttered room often reveals that you need far fewer updates than you thought.”
Key takeaways
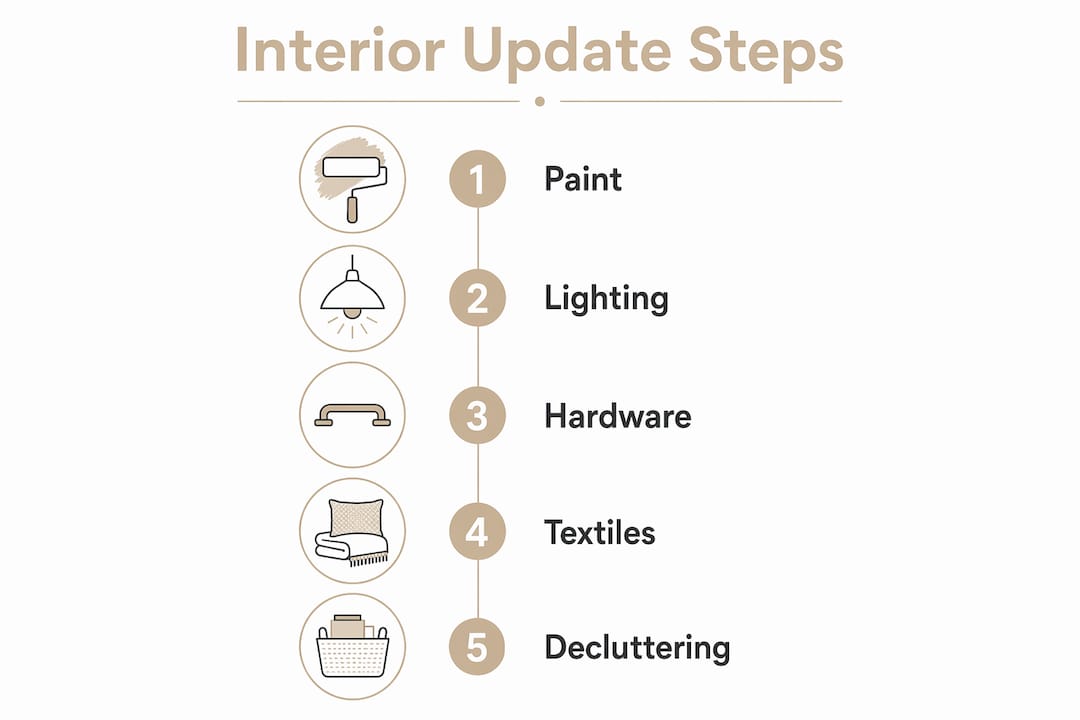
The most cost-effective interior updates focus on paint, lighting, hardware, and textiles, in that order, because they deliver the highest visual return per dollar spent.
| Point | Details |
|---|---|
| Paint first, always | Interior paint delivers 107% ROI and costs $200–$600 for a full DIY project. |
| Layer your lighting | Warm LEDs plus floor and table lamps transform ambiance without contractor work. |
| Swap hardware before furniture | Refinishing or replacing cabinet and door hardware costs under $200 and reads as a full refresh. |
| Textiles over accessories | Rugs, curtains, and pillows deliver more impact per dollar than decorative objects. |
| Declutter before spending | Removing visual noise and rearranging furniture often eliminates the need for additional purchases. |
What I’ve learned from years of watching homeowners refresh spaces
Homeowners consistently underestimate how much emotional weight a tired room carries. The decision fatigue that comes from living in a space that feels wrong is real, and it often leads to either paralysis or overspending. People either do nothing for years or commit to a full remodel when a focused micro-renovation would have solved the problem.
The most effective approach I’ve seen is to pick one room, identify the two or three changes with the highest daily impact, and complete those before moving on. Paint and lighting almost always make the list. Hardware and textiles follow. Structural changes and furniture replacement rarely make the top three unless something is genuinely broken.
Renters face a different set of constraints than homeowners, but the core strategy is the same. Peel-and-stick solutions, plug-in fixtures, and removable hardware work within most lease agreements. The budget-friendly kitchen refresh approach applies equally well to bathrooms, living rooms, and bedrooms with minor adjustments.
Progress matters more than perfection. A room that is 80% refreshed and livable today is worth more than a perfect room that exists only in a plan. Build in a 10–20% contingency fund for every project, even small ones, because hidden issues surface even in minor updates. That buffer is not pessimism. It is experience.
— Wood
How Woodmadeillinois can help you finish the job right
DIY updates take you far, but some finishes require a skilled hand to look truly intentional.
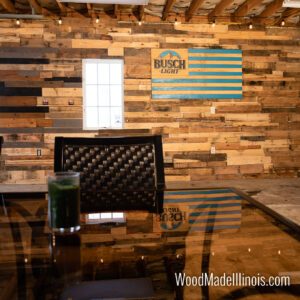
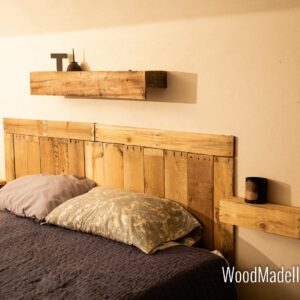
Woodmadeillinois brings over 100 years of combined carpentry experience to homes and businesses across Central Illinois. The team specializes in custom installations that complement the budget-friendly updates you’ve already made, from built-in shelving and barnwood accent walls to hardware installation and space-specific carpentry solutions. Whether you need a single finishing touch or a complete room plan, working with trusted local carpentry experts ensures your micro-renovation delivers the polished result you’re after. Reach out for a personalized design consultation and see what’s possible within your budget.
FAQ
What is a micro-renovation?
A micro-renovation is a small-scale interior update focused on paint, lighting, hardware, or textiles that costs $600–$1,200 and completes in one to three days. It delivers roughly 80% of the visual impact of a major remodel at a fraction of the cost.
Does painting really return more than it costs?
Interior paint delivers 107% ROI on average, making it one of the few home updates that returns more than the investment. DIY painting costs $200–$600 for a full home, compared to $1,500–$4,000 for professional work.
What is the best first step before spending money on decor?
Declutter and deep clean the room first. Removing visual noise and cleaning all surfaces often reveals that fewer purchases are needed than originally assumed, and it maximizes the impact of any updates that follow.
Can renters use these interior refresh strategies?
Renters can apply most of these strategies using plug-in lighting, removable hardware, peel-and-stick surfaces, and textiles. These approaches require no permanent changes and work within most standard lease agreements.
How much should I budget for a single-room refresh?
A focused single-room refresh covering paint, lighting, and textiles typically costs $400–$900 DIY. Setting aside an additional 10–20% as a contingency fund is recommended to cover any unexpected issues that arise during the project.