An inexpensive bathroom upgrade with woodwork is defined as a cosmetic renovation that uses affordable materials like PVC lattice, MDF strips, or cedar fence pickets to deliver a high-impact visual transformation without structural changes. Projects like board and batten walls and fluted cabinet facelifts can be completed for as little as $45–$50 in materials. Woodmadeillinois has seen firsthand how these small-scale wood treatments turn tired bathrooms into spaces that feel custom-built. You do not need a full remodel. You need the right materials, the right method, and a clear plan.
What materials and tools do you need for affordable woodwork upgrades?
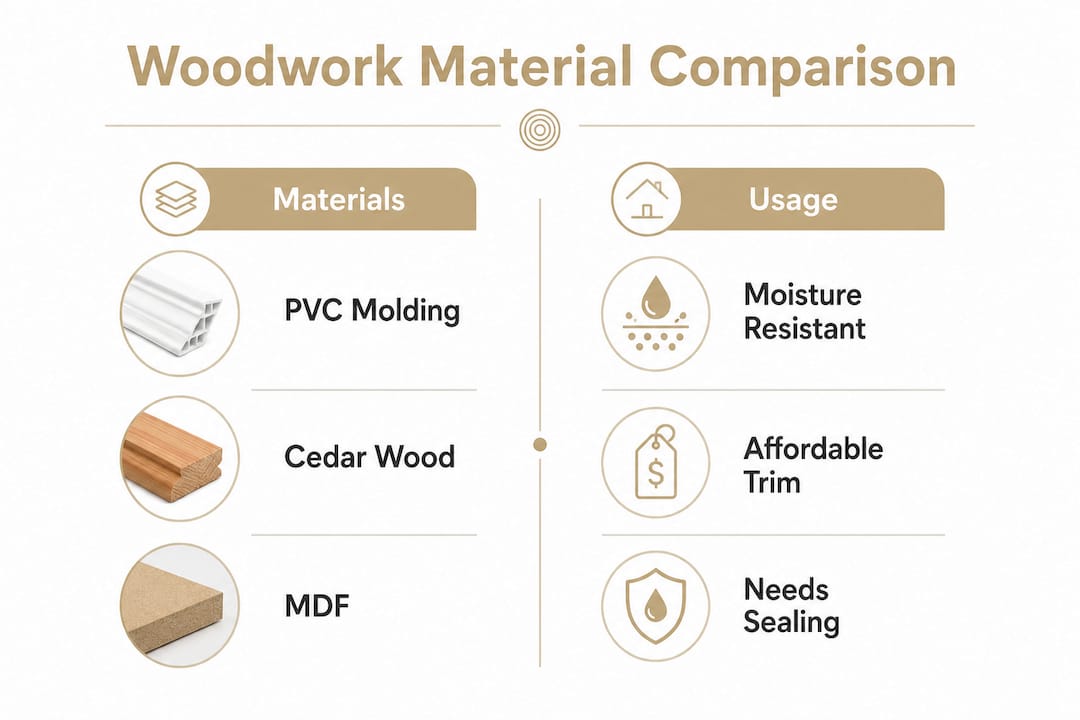
The three most accessible materials for budget bathroom improvements are PVC lattice, MDF strips, and cedar fence pickets. Each one solves a different problem. PVC handles moisture without warping. MDF cuts cleanly and paints beautifully. Cedar brings natural warmth and resists moisture naturally.
Here is what you need to gather before starting any DIY wood upgrade for your bathroom:
- PVC lattice or molding strips: Ideal for battens and trim because PVC resists swelling in high humidity far better than standard wood.
- MDF strips (1×4 or 1×6): Affordable and smooth for painting, but they require a moisture-resistant primer before installation.
- Cedar fence pickets: A natural alternative that costs very little per board and holds up well in damp conditions.
- Brad nailer and compressor: The fastest way to attach battens to drywall without visible fasteners.
- Miter saw or circular saw: Needed for clean, square cuts on any trim or batten material.
- Caulk gun and paintable caulk: Fills gaps between boards and the wall for a finished, professional look.
- Sandpaper (120-grit and 220-grit): Smooths cut edges and prepares surfaces for primer.
- Moisture-resistant primer: Products like KILZ Mold & Mildew primer protect MDF and wood from bathroom humidity.
| Material | Best Use | Moisture Resistance |
|---|---|---|
| PVC lattice/molding | Battens, trim, accents | Excellent |
| MDF strips | Flat panels, board faces | Low (requires sealing) |
| Cedar fence pickets | Battens, shelving, accents | Good (natural) |
Pro Tip: Buy cedar fence pickets from a home improvement store rather than specialty lumber yards. They cost a fraction of the price and rip down cleanly on a table saw to any width you need.
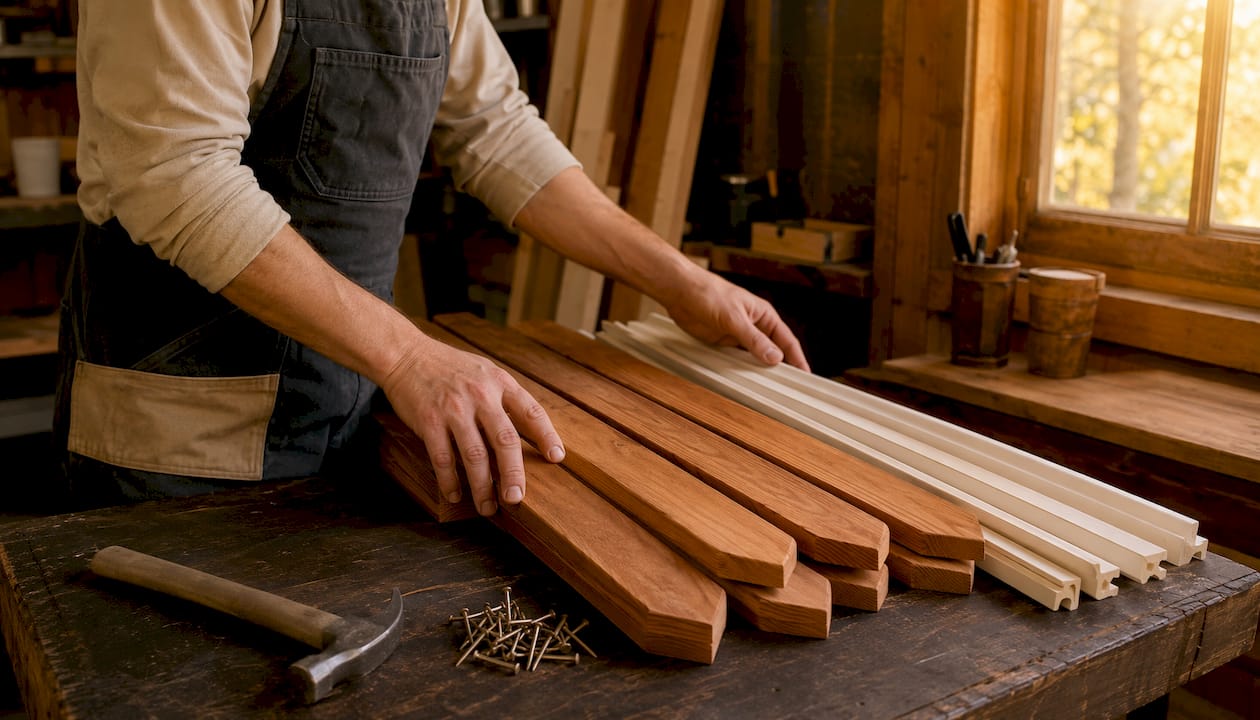
Source your materials at big-box stores like Home Depot or Lowe’s for the best price-to-quality ratio. Buying in bulk and cutting boards yourself reduces waste and keeps the total project cost well under $100 for most bathrooms.
How to install board and batten walls affordably
Board and batten is the single most impactful DIY wood upgrade for a bathroom wall. The technique layers horizontal rails and vertical battens over existing drywall to create a paneled, architectural look. The total material cost lands between $45–$50 for a standard bathroom wall.
Follow these steps for a clean, lasting installation:
- Measure and mark your rail height. A 48-inch height is the standard for balanced proportions in most bathrooms. Rooms with ceilings above 9 feet can go taller.
- Cut your top rail and bottom rail. These horizontal pieces run the full width of the wall. Cut them from 1×4 MDF or PVC stock.
- Attach the bottom rail over the existing baseboard. You do not need to remove baseboards first. Nail battens directly over them and use shims behind the top rail to keep everything level.
- Mark batten spacing on the wall. Space vertical battens every 12–16 inches for a classic look. Use a level and pencil to mark each position.
- Cut and nail the vertical battens. Attach each batten between the top and bottom rails using a brad nailer. Drive two nails per rail connection for a secure hold.
- Caulk every seam. Run a bead of paintable caulk along every edge where wood meets wall, wood meets wood, and wood meets baseboard. This step is what separates a professional result from an amateur one.
- Sand, prime, and paint. Sand all surfaces lightly with 220-grit paper. Apply a moisture-resistant primer, let it dry fully, then finish with two coats of semi-gloss or satin paint.
Pro Tip: Apply caulk in one continuous pull rather than dabbing it on. Wet your fingertip with water and smooth the bead immediately for a clean, tight line.
Cosmetic upgrades like board and batten typically fall well under $1,000 when done without structural changes. That cost ceiling is what makes this technique the backbone of any bathroom remodel on a budget.
What are effective ways to refresh bathroom cabinets with woodwork?
Cabinet facelifts are the second most cost-effective wood accent for bathroom renovation. The goal is to add visual texture and warmth to flat, dated cabinet doors without replacing the boxes. Fluted shiplap boards from big-box stores accomplish this for under $50 in materials.
The process is straightforward:
- Measure each cabinet door face and cut fluted trim boards to fit. Standard fluted shiplap boards run about $13–$14 each, so a full set of cabinet doors stays well within budget.
- Cut boards yourself rather than buying pre-made panels. Cutting standard trim boards yourself reduces cost substantially and lets you size each piece precisely.
- Attach panels with construction adhesive and finish nails. Adhesive alone works for renters who need a reversible application. Nails add permanence for homeowners.
- Sand edges smooth before finishing. Fluted profiles collect dust at the ridges, so a light pass with 120-grit paper keeps the surface clean.
- Stain or paint to match your bathroom palette. A warm walnut stain over cedar-toned boards adds richness. White or off-white paint over MDF panels creates a clean, modern look.
- Replace hardware at the same time. New pulls and knobs cost $2–$5 each and complete the transformation without adding significant cost.
Pro Tip: If you are renting, use removable adhesive strips rated for the weight of the panel. The fluted boards add minimal weight, and the strips peel off cleanly when you move.
Pairing a cabinet refacing approach with new hardware and a fresh coat of paint on the walls creates a cohesive result that looks far more expensive than it is. The key is treating the cabinet update as part of a coordinated plan rather than an isolated fix.
How to choose wood types and finishes that hold up in bathrooms
Wood selection is the most important decision in any bathroom woodwork project. The wrong material will swell, crack, or grow mold within months. The right one lasts for years with minimal maintenance.
Here is how the three main options compare:
| Material | Moisture Resistance | Cost | Best Application |
|---|---|---|---|
| PVC molding | Excellent | Low to moderate | Battens, trim, chair rail |
| MDF | Poor (unsealed) | Low | Flat panels, painted surfaces |
| Cedar fence pickets | Good | Very low | Battens, shelving, accents |
MDF is the most affordable option, but it requires thorough sealing with moisture-resistant primer before any paint goes on. Skip this step and the boards will swell at the edges within a season. Cedar is the most forgiving natural wood for bathrooms because it contains natural oils that slow moisture absorption. PVC requires no sealing at all and is the best choice for walls near the shower or tub.
Paint selection matters as much as primer. Semi-gloss and satin finishes repel water better than flat or eggshell. KILZ Mold & Mildew primer is a reliable baseline for any wood product going into a bathroom. Apply two coats of primer on MDF, paying extra attention to cut edges where the material is most vulnerable.
Pro Tip: Seal MDF cut edges with a thin coat of wood glue diluted with water before priming. This hardens the porous surface and prevents the primer from soaking in unevenly.
Maintenance is simple once the finish is applied correctly. Wipe surfaces with a damp cloth monthly and inspect caulk lines annually. Recaulk any cracked seams immediately to prevent moisture from reaching the wood behind the finish.
What finishing touches and wood accents maximize bathroom style?
Small wood accents complete the look that board and batten and cabinet facelifts establish. These additions are low in cost and high in visual return. They also add function, which makes them worth prioritizing in any budget bathroom improvement plan.
The most effective finishing touches include:
- Floating wood shelves: A single cedar or pine shelf above the toilet adds storage and warmth. Cut it to length, sand it smooth, apply a clear polyurethane finish, and mount it on hidden brackets.
- Mirror framing: A plain builder-grade mirror becomes a focal point when you frame it with simple wood molding. Miter the corners at 45 degrees, glue and nail the frame directly to the mirror’s edge, and paint or stain to match the room.
- Wood towel bars: A length of 1.5-inch dowel rod mounted between two pipe flanges creates a custom towel bar for under $15. It reads as intentional and handcrafted rather than budget-conscious.
- Crown molding at the ceiling line: A single run of simple crown molding where the wall meets the ceiling adds architectural weight to the room. Combined with board and batten below, it makes the bathroom feel finished from floor to ceiling.
- Wood trim around the window: Casing a bathroom window with simple flat stock trim frames the natural light and ties the woodwork together across the room.
Pro Tip: Paint all wood accents the same color as the board and batten walls. A monochromatic wood treatment reads as a deliberate design choice rather than a collection of separate projects.
Significant bathroom transformations do not require demolition. Focusing on woodwork, hardware, and lighting together can produce a complete room refresh for under $500. Prioritize the elements that cover the most visual surface area first, then layer in the smaller accents.
Key Takeaways
An inexpensive bathroom upgrade with woodwork delivers the highest return when you combine moisture-resistant materials, proper sealing, and coordinated accents across the full room.
| Point | Details |
|---|---|
| Start with board and batten | A 48-inch wall treatment costs $45–$50 and creates the most visual impact per dollar spent. |
| Choose materials by moisture exposure | Use PVC near water, sealed MDF on dry walls, and cedar for shelving and accents. |
| Cabinet facelifts cost under $50 | Fluted trim boards cut to size and adhered to cabinet doors modernize dated cabinetry affordably. |
| Seal every wood surface before painting | Moisture-resistant primer on MDF and a semi-gloss topcoat prevent swelling and mold. |
| Layer accents for a finished look | Floating shelves, framed mirrors, and wood towel bars complete the room without adding significant cost. |
What I have learned from years of budget bathroom woodwork
The homeowners who get the best results from budget woodwork projects share one habit: they resist the urge to change the plumbing. Moving a single fixture can add $1,000 or more to a project before a single board goes up. Every dollar saved by leaving pipes in place is a dollar available for better materials, better hardware, or a second project.
The other lesson I keep coming back to is patience in the finishing stage. Most homeowners rush the caulking and painting because the structural work feels like the real accomplishment. It is not. The finish is the skin of the project. A poorly caulked seam or a single coat of paint over unsealed MDF will undermine weeks of careful installation. Take the time to do it right.
I also encourage homeowners to treat these projects as skill-building exercises. Family-inclusive DIY projects using what I call the “ability plus 1” method, where each person works just one skill level above their comfort zone, can complete a full woodwork upgrade in about five days. The result is a room you built together and a set of skills you carry into every project after it.
The most important thing I can tell you is this: impactful upgrades do not require expensive materials or a contractor. They require care, the right sequence, and a willingness to do the finishing work as seriously as the installation.
— Wood
Woodmadeillinois can help you plan your bathroom woodwork project
Not every homeowner wants to pick up a saw, and that is completely reasonable. Woodmadeillinois brings over 100 years of combined carpentry experience to budget-conscious projects across Central Illinois, from board and batten wall installations to custom cabinet refacing and floating shelf builds.
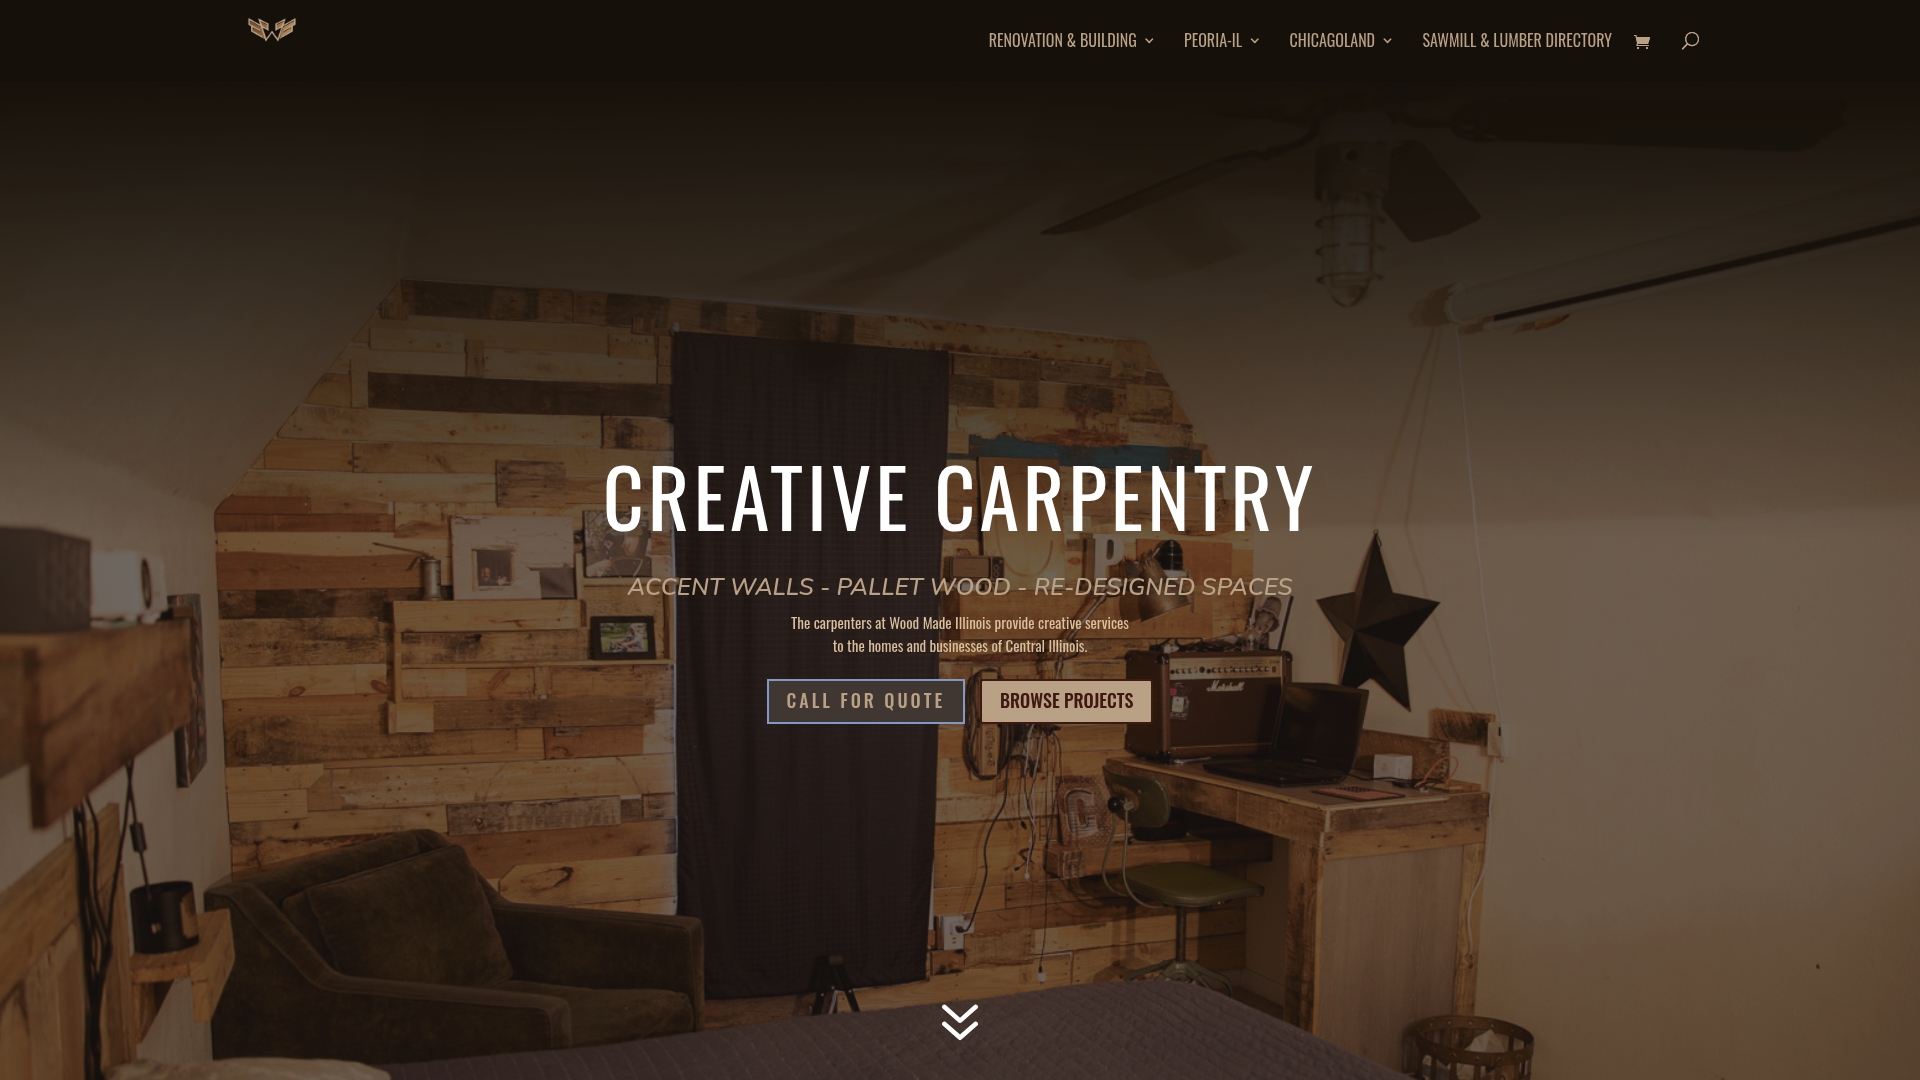
The team at Woodmadeillinois specializes in the kind of work this article describes: high-impact, low-disruption woodwork that keeps costs down without cutting corners on craftsmanship. Whether you need a single accent wall or a full bathroom wood treatment, the trusted local carpentry experts at Woodmadeillinois offer personalized consultations and custom installations sized to your budget and your space.
FAQ
What is the cheapest woodwork upgrade for a bathroom?
Board and batten wall treatments using PVC or MDF materials cost as little as $45–$50 in materials and deliver the highest visual impact per dollar of any bathroom woodwork project.
Does wood hold up in a humid bathroom environment?
PVC molding and cedar hold up well without special treatment. MDF requires two coats of moisture-resistant primer and a semi-gloss topcoat to prevent swelling in high-humidity conditions.
Can I install board and batten without removing baseboards?
Yes. Vertical battens nail directly over existing baseboards, and shims behind the top rail keep everything level without any demolition.
How much does a cosmetic bathroom remodel with woodwork cost?
Cosmetic bathroom remodels focusing on paint, hardware, and woodwork accents typically cost between $300 and $1,000, well below the $1,000–$5,000 range of partial structural remodels.
What wood finish is best for bathroom walls?
Semi-gloss or satin paint over a moisture-resistant primer like KILZ Mold & Mildew is the most durable finish for bathroom woodwork. It repels water and wipes clean easily.