A skilled carpenter translates a client’s idea into a finished installation through seven disciplined phases: consult, measure, design, source, fabricate, install, and inspect. Most residential projects in Central Illinois typically run from a few weeks to a few months from first meeting to final walkthrough, with scope complexity, material lead times, and trade coordination being the three factors that stretch that window most.
Custom carpentry is built specifically for your space, which means every phase of the process carries real consequences for fit, finish, and longevity. Understanding those phases before you hire puts you in a far stronger position to ask the right questions, protect your budget, and get work you’ll still appreciate in twenty years.
Key Takeaways
Carpenters turn a client’s idea into a finished installation through seven sequential phases, and the quality of the outcome depends on how carefully each phase is documented and approved before the next one begins.
| Point | Details |
|---|---|
| Lock drawings before fabrication | Changes after shop drawings are approved trigger material and rework charges. |
| Survey beats floor plans | On-site measurements catch wall, floor, and ceiling irregularities that drawings miss. |
| Material choice drives cost and schedule | Solid hardwood, plywood, MDF, and reclaimed wood each carry different lead times and tolerances. |
| Trade sequencing prevents rework | Carpentry follows drywall but precedes final paint and flooring; confirm this order in the contract. |
| Woodmadeillinois for Central Illinois | Written estimates, clear scopes, and post-install support are standard on every local project. |
Table of Contents
- How carpenters translate vision to reality: the full roadmap
- Step 1: How carpenters capture your vision at the first meeting
- Step 2: What carpenters check during the site survey
- Step 3: Design development, shop drawings, and why sign-off matters
- Step 4: Choosing materials and finishes that match your goals
- Step 5: What happens in the shop before anything reaches your home
- Step 6: Installation day, finishing, and coordinating other trades
- Step 7: Inspection, punchlist, and keeping your work in good shape
- How to hire a carpenter: what to check before you sign
- How Woodmadeillinois turned three client visions into built work
- What the Woodmadeillinois team wants you to know
- Woodmadeillinois is ready to build what you’re picturing
- Sources
How carpenters translate vision to reality: the full roadmap
The seven phases below are the backbone of every well-run custom carpentry project. Each step has a clear owner, and knowing when decisions become final helps you avoid the change-order costs that catch homeowners off guard.
- Consultation — Carpenter and client together. Vision, budget, and constraints go on paper.
- Site survey — Carpenter-led. Precise measurements, photos, and structural notes taken on location.
- Design and shop drawings — Carpenter drafts; client reviews and signs off before any cutting begins.
- Material selection — Joint decision. Samples reviewed; orders placed only after approval.
- Fabrication — Shop work. Cutting, joinery, edge-banding, pre-assembly, and finishing happen here.
- Installation — On-site. Scribing, final trimming, anchoring, and hardware fitting.
- Inspection and punchlist — Both parties walk the finished work; corrections documented and completed.
Sign-off at steps 3 and 4 is where decisions become binding. Changes after drawings are locked typically trigger material and rework charges, so those two approvals deserve your full attention.
Step 1: How carpenters capture your vision at the first meeting
A thorough consultation produces a written brief covering intended use, target dimensions, aesthetic direction, inspiration images, a budget ceiling, and a realistic timeline. Without all six, the carpenter is guessing at what matters most to you — and guesses cost money to correct later.
During that first meeting, a good carpenter documents everything: handwritten notes, photos of the space, rough sketches on paper, and physical material samples where available. Reviewing project ideas and budget examples before the consultation helps you arrive with clearer preferences and speeds the whole process.
Whoever makes the final financial decisions should attend. If a designer or general contractor is already involved, include them too. Misaligned expectations between a homeowner and their designer are one of the most common sources of mid-project scope creep.
Pro Tip: Photograph your space from multiple angles before the meeting, note any fixed constraints (a low beam, a radiator, an awkward door swing), and bring a sample of any existing finish or hardware you want to match. That preparation alone can cut the consultation time in half.
Step 2: What carpenters check during the site survey
Measurements taken from a floor plan are a starting point, not a specification. On site, a carpenter checks plumb, level, stud layout, floor-to-ceiling height variations, clearances around doors and windows, and the profile of existing trim. Walls that look square rarely are; floors that look flat often slope a quarter-inch across a room.

Custom carpentry stages from measurement through installation each affect final quality, and the survey is where errors get caught before they become expensive. Laser measures and detailed site photos feed directly into shop drawings, so any irregularity the carpenter misses here shows up as a gap or a forced fit on installation day.
Prepare your space before the survey:
- Clear a three-foot perimeter around every wall or area being measured.
- Unlock all rooms, closets, and utility access panels the carpenter needs to see.
- Confirm power is available for laser tools and lighting.
- Flag any hidden utilities (gas lines, low-voltage wiring) you know about.
For large or complex projects, an independent site verification against the existing floor plans is worth requesting, especially in older Central Illinois homes where original drawings may not reflect later renovations.
Step 3: Design development, shop drawings, and why sign-off matters
Concept sketches show proportion, style, and rough layout. Shop drawings go much further: every dimension, joint type, hardware specification, mounting detail, and CNC programming note must appear on the drawing before a single board is cut. Professional bespoke joinery studios follow this exact methodology — brief, concept sketches, locked technical drawings — specifically to prevent scope creep and missed design intent.
3D renderings or physical mockups of complex elements (a curved bar front, an unusual shelving configuration) reduce surprises at installation. They cost time upfront and save far more of it later.
Locking drawings before fabrication begins is the single most effective cost-control step in the entire process. Changes after cutting or delivery routinely trigger both material and labor charges.
Pro Tip: Before signing shop drawings, check hinge swing clearances, internal shelf spacing against your actual items, drawer depth against your deepest pots or files, and whether any panel interferes with an outlet, vent, or light switch. Spend thirty minutes on this review — it is worth it.
Step 4: Choosing materials and finishes that match your goals
Material choice shapes cost, lead time, and how forgiving the installation will be when walls aren’t perfectly square.
| Material | Best for | Cost tier | Key trade-off |
|---|---|---|---|
| Solid hardwood (oak, maple, walnut) | Visible faces, heirloom pieces, bars | High | Seasonal movement; needs acclimation |
| Hardwood plywood | Cabinet carcases, shelving, painted built-ins | Mid | Edge requires banding or solid-wood lipping |
| MDF | Painted doors, routed profiles, flat panels | Low-mid | Heavy; not moisture-tolerant |
| Reclaimed / pallet wood | Accent walls, rustic shelving, feature pieces | Low-mid | Irregular thickness; prep time adds labor |
| Laminate / melamine | High-traffic surfaces, utility storage | Low | Limited repair options; heat-sensitive |
Reclaimed and pallet wood accent walls are a practical choice when budget is tight and character matters more than uniformity. The irregular thickness requires extra prep and shimming, but the result is a surface no big-box store can replicate.
A few sourcing principles worth knowing:
- Confirm finish samples and hardware in hand before placing material orders — screen colors lie.
- For solid wood, ask when the lumber was kiln-dried and whether it has acclimated to your region’s humidity.
- Specify hardware by model number in the drawings, not just by description, to avoid substitutions.
- Budget-conscious material decisions are easier when you know which surfaces are truly visible and which are hidden behind doors.
Step 5: What happens in the shop before anything reaches your home
Shop fabrication is where precision is built in, not adjusted for. Typical tasks include dimensioning lumber, cutting sheet goods, edge-banding plywood, CNC machining door profiles or decorative elements, pre-assembling carcases, and applying primer or base coats. Modern workshops use CNC machining and dry-fit pre-assembly to verify fit before components ever leave the shop, which compresses on-site installation time considerably.
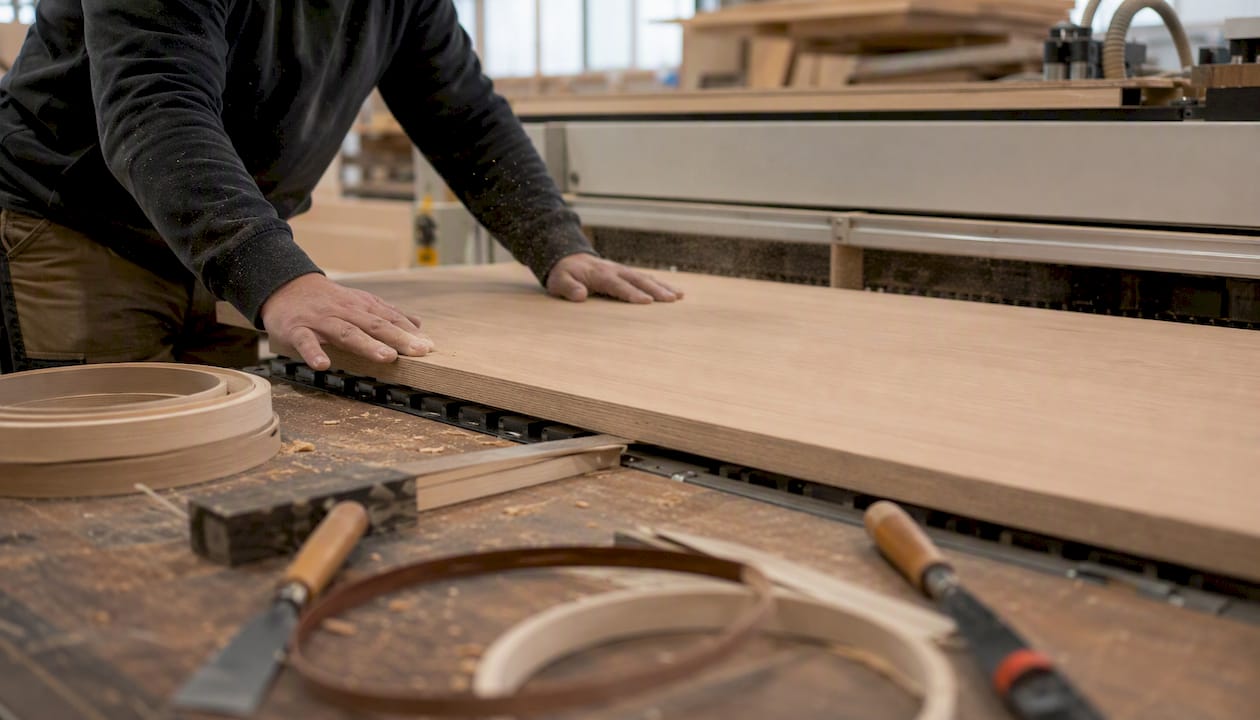
Edge banding, labeled assembly sequences, and pre-finished components are standard shop practices that protect finish quality and reduce the chance of site errors. Each panel or component should arrive on your job site labeled with its location and orientation.
What carpenters reserve for on-site work: scribing panels to irregular walls, final trimming to exact ceiling height, gluing up joints that need to cure in place, and setting hardware after the piece is anchored. These tasks require the actual space, not a shop approximation of it.
Common joinery choices for built-ins include pocket screws for speed, mortise-and-tenon for structural joints, and dado or rabbet joints for shelf housings. Each has a different strength profile; the right choice depends on load, visibility, and how the piece will be finished.
Step 6: Installation day, finishing, and coordinating other trades
Finish carpentry timelines depend on clear sequencing with painting, flooring, and other trades. Carpentry typically follows rough framing and drywall but precedes final paint and flooring installation. Getting that sequence wrong means either painting around installed cabinets or scribing new flooring under pieces that are already anchored — both add cost.
On installation day, expect the carpenter to anchor pieces to studs or blocking, check level and plumb at every stage, fit hardware, and caulk transitions to walls and ceilings. Final paint touch-ups at caulk lines are typically the painter’s responsibility, not the carpenter’s — clarify this in the contract.
Pro Tip: Confirm with your carpenter at least a week before installation which other trades need to complete work first. Electricians running outlets inside a built-in, HVAC contractors adding a vent, or flooring installers finishing a threshold all need their window before the carpentry goes in.
Step 7: Inspection, punchlist, and keeping your work in good shape
Walk the finished installation with your carpenter before signing off. A reasonable punchlist covers:
- Doors and drawers that don’t close flush or require excessive force.
- Visible gaps at wall, floor, or ceiling transitions wider than a standard caulk line.
- Hardware that is misaligned, loose, or scratched during installation.
- Finish inconsistencies: drips, missed spots, or sheen differences between panels.
- Any dimension that differs from the approved shop drawing.
Photograph every item on the punchlist the day of the walkthrough. Most corrections are straightforward; the documentation protects both parties if a dispute arises later. A reputable carpenter will provide a written warranty covering workmanship defects, typically for one year on labor.
For ongoing care: wipe wood surfaces with a barely damp cloth, never a soaking one. In Central Illinois, where summer humidity can climb and winter air dries out, solid wood pieces benefit from a humidifier running in the room during heating season. Hardware hinges and drawer slides last far longer with a light application of dry lubricant once a year.
How to hire a carpenter: what to check before you sign
Vetting a carpenter before committing protects your budget and your schedule. Check for:
- A portfolio of completed projects with real photos, not stock images.
- References from clients with projects similar in scope to yours.
- A written estimate that itemizes labor, materials, and any allowances separately.
- Proof of general liability insurance and, where required, a contractor’s license.
- A clear payment schedule tied to project milestones, not arbitrary dates.
Woodmadeillinois emphasizes written estimates, clear scopes, material samples, and post-install support as standard practice — the kind of documentation that separates a professional engagement from a handshake arrangement that goes sideways.
Contract essentials worth insisting on:
| Contract element | Why it matters |
|---|---|
| Written scope of work | Defines exactly what is and isn’t included |
| Shop drawings sign-off clause | Confirms changes after approval trigger a change order |
| Milestone payment schedule | Ties payments to deliverables, not calendar dates |
| Change order procedure | Sets the process and cost basis for any scope additions |
| Written warranty terms | Specifies what is covered and for how long |
In Central Illinois, lead times for custom work typically run two to six weeks from signed drawings to fabrication start, with seasonal demand peaking in spring and fall when renovation activity is highest.
How Woodmadeillinois turned three client visions into built work
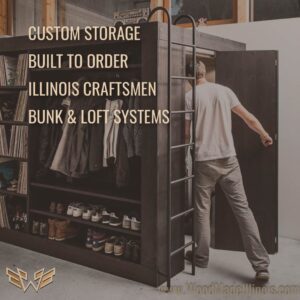
Built-in storage, Peoria home. A family needed to reclaim a cluttered living room wall without losing floor space. Constraints included an off-center window and a baseboard heating unit. The solution was a floor-to-ceiling built-in with a bridged window seat, adjustable shelving on either side, and a vented cabinet base over the heater. The result doubled usable storage while making the room feel larger, not smaller.
Pallet wood accent wall, small business lobby. A Central Illinois service business wanted a warm, textured feature wall for their reception area on a tight budget. Reclaimed pallet wood was sourced, dried, and sorted by color tone, then installed in a staggered horizontal pattern. The irregular grain and natural weathering gave the space a character that painted drywall simply cannot produce. See living room carpentry examples for similar finished work.
Ergonomic home office desk, remote worker. A homeowner working from a converted spare bedroom needed a desk that fit a specific corner layout, accommodated dual monitors, and included built-in cable management. A solid maple top with a hardwood plywood carcase was fabricated to exact dimensions, with a routed cable channel and a recessed power strip housing. For more small office carpentry examples like this one, the portfolio covers a range of workspace configurations.
What the Woodmadeillinois team wants you to know
The team at Woodmadeillinois brings over 100 years of combined carpentry experience to every project in Central Illinois, from historic window restoration to custom interior design solutions for modern homes and small businesses. The process priorities are straightforward: clear communication at every phase, craftsmanship that holds up over time, and a timeline the client can actually plan around. Every project includes a written estimate, a defined scope, and post-installation support — because a finished installation is only the beginning of the relationship, not the end of it.
Woodmadeillinois is ready to build what you’re picturing
Custom carpentry built specifically for your space offers more design flexibility and a better fit than anything off the shelf. Woodmadeillinois serves homeowners and small businesses across Central Illinois with free consultations, written estimates, and installations backed by a workmanship warranty. Whether you need a built-in storage solution, a pallet wood feature wall, or an ergonomic home office desk, the process starts with a single conversation.

Call 309.704.0132, use the contact form at Woodmadeillinois, or book an in-person measure and consultation. Bring your photos, your dimensions, and your questions — the team will handle the rest.
Sources
- From Brief to Installation – How Professional Bespoke Joinery Workshops Work
- From Factory to Installation: How Custom Carpentry Is Made
- Carpentry and Woodworking: A Guide to Custom Home Upgrades – Bucheli Trim
- Timeline for a Finish Carpentry Project – Willamette Carpentry