Historic home restoration means returning a building’s fabric and appearance to a specific period, while the broader practice of preservation focuses on the ongoing maintenance that keeps original materials stable — a distinction the National Park Service treats as foundational. The first move, before you touch a single sash window or floorboard, is to document your home’s current condition, dig into its history, and contact a contractor or architect with genuine preservation experience. Your state historic preservation office (SHPO) and a specialist like Wood Made Illinois can help you figure out which path best fits your house.
TL;DR:
- Hiring a contractor with specialized experience in historic homes is crucial to avoid damage caused by unfamiliarity with traditional materials and construction methods.
- Documentation of the home’s original condition and historical records is essential before starting work, helping to secure accurate bids and potential tax credits.
- Restoration aims for period accuracy and may cost more, while preservation emphasizes minimal intervention and tends to be more budget-friendly.
- Costs are mainly driven by skilled labor, with window, plaster, and masonry repairs requiring expert craftsmanship and potential funding from local tax credits or federal programs.
- Proper sequencing of stabilization, envelope repair, systems upgrade, and finish work is vital to prevent rework and preserve original fabric.
Table of Contents
- How Do You Find Contractors Experienced With Historic Homes?
- What Records Do You Need Before Restoration Begins?
- Preservation vs. Restoration: Which Standard Fits Your Project?
- What Does Historic Home Restoration Actually Cost?
- How Do You Repair Original Windows, Trim, Plaster, and Masonry?
- What Triggers Historic Commission Review?
- How Should You Phase a Historic Restoration Project?
- How Wood Made Illinois Approaches Historic Home Projects
- How Do You Know if a Historic House Is Structurally Sound?
- How Do You Safely Handle Lead Paint and Asbestos in an Old House?
- How Do You Update Electrical, Plumbing, and HVAC Without Losing Character?
- What Records Should You Keep During Restoration?
- How Do You Meet Building Codes Without Compromising Historic Character?
- How Do You Keep Design Details Historically Accurate?
- A Stewardship Mindset, Not a Finish Line
- Let Wood Made Illinois Help With Your Restoration
- Sources
- FAQ
How Do You Find Contractors Experienced With Historic Homes?
The single biggest predictor of a botched historic renovation isn’t budget. It’s hiring a contractor whose only experience is modern drywall and vinyl siding, then asking them to “restore” a 1910 foursquare. Old houses behave differently than new construction. Plaster moves. Old-growth lumber shrinks and swells with the seasons in ways kiln-dried lumber doesn’t. A contractor who doesn’t understand that will make decisions that damage the house even while trying to fix it.
Start your search with preservation-focused organizations, your local historic commission’s approved contractor lists, and your state SHPO office, all of which tend to maintain rosters of vetted specialists. Once you have candidates, request a formal Contractor’s Qualifications Statement (AIA A305) or Architect’s Qualifications Statement (B305). These documents force a professional to disclose past projects, references, and relevant experience in writing rather than in a sales pitch.
Watch for these warning signs when reviewing bids:
- Vague scope language like “restore as needed” with no itemized tasks
- A default recommendation to “just replace” original windows, trim, or plaster instead of repairing them
- No allowance line for hidden conditions behind walls or under floors
- Reluctance to provide photos of comparable historic projects
- No mention of matching profiles, species, or finishes when discussing millwork
A well-structured scope of work should separate known repairs from contingency allowances, since old houses almost always reveal surprises once walls open up.
Pro Tip: Ask any contractor candidate to walk you through one job where they chose to repair rather than replace an original material. Their answer tells you more than their portfolio photos ever will.
What Records Do You Need Before Restoration Begins?
Documentation comes before demolition, always. Skipping this step is how homeowners end up guessing at a restoration period or losing eligibility for tax credits because nobody photographed the “before” condition.
- Pull archival records first. Property deeds, Sanborn fire insurance maps, tax assessor photos, and local historical society archives often reveal when additions were built and what the original footprint looked like.
- Hire an architectural historian for anything ambiguous. If your house has been altered multiple times, a historian can help identify which era’s details are worth restoring.
- Survey current condition room by room. Photograph everything, note material samples, and flag priority repairs before contractors ever pick up a tool.
- Choose your target period and write down why. Are you restoring to 1920, or preserving what exists today without picking a specific date? Document the reasoning.
- Use that documentation in every bid request. Contractors price more accurately when they can see condition photos and measured drawings instead of guessing on-site.
This paper trail also becomes essential later when applying for grants or defending your scope to a historic commission.
Preservation vs. Restoration: Which Standard Fits Your Project?
These two words get used interchangeably by homeowners and almost never by preservation professionals. The NPS defines preservation as maintenance work that stabilizes what already exists, while restoration means returning a structure to its appearance during a specific historic period, sometimes removing later additions to do so.
Three principles guide both approaches:
- Minimal intervention. Do the least invasive repair that solves the problem, rather than defaulting to full replacement.
- Repair-in-kind. Match original materials, profiles, and techniques whenever the existing fabric can be salvaged.
- Reversibility. Where new work is unavoidable, favor methods that a future owner could undo without damaging original material.
International conservation guidelines echo this hierarchy: upgrades should be the least intrusive intervention necessary to make a building safe and functional, not a full remodel disguised as repair.
Which path you choose changes your entire project. Restoration to a specific period often costs more because it may require removing sound but historically inaccurate materials. Preservation-focused maintenance usually costs less and keeps more original fabric intact, but it also may not qualify for restoration-specific tax credits that require period accuracy. Decide early, because it shapes your budget, your contractor’s scope, and your standing commission approval.
What Does Historic Home Restoration Actually Cost?
Old-house budgets break down differently than new-construction budgets. Labor dominates far more than materials, because skilled trades capable of dutchman patches, lime plaster repair, or true divided-light window restoration are scarcer and command higher rates than standard remodeling crews.
A few rules of thumb tend to hold across most historic projects:
- Window restoration by a specialist typically costs less per opening than full replacement, but takes longer per unit.
- Plaster repair costs climb fast once you’re dealing with structural lath failure rather than surface cracking.
- Masonry repointing with lime mortar costs more upfront than cement-based mortar but avoids long-term damage to soft historic brick.
- Structural stabilization, when needed, should be budgeted before cosmetic work, not after.
Funding sources can offset these costs meaningfully. Your state’s SHPO office may administer tax credit programs, similar to New York’s homeowner historic tax credit, and it’s worth checking whether your state runs something comparable. On the loan side, the HUD 203(k) program finances both rehabilitation and structural or systems upgrades through a single FHA-insured mortgage, which is useful for homeowners who need to roll purchase and renovation costs together. In eligible rural areas, USDA single-family housing programs offer repair loans and grants worth investigating too. Bring your documentation and cost estimates to lenders early, since financing timelines rarely move as fast as contractors want to start.
How Do You Repair Original Windows, Trim, Plaster, and Masonry?
Original materials in a historic house are almost always worth saving, and the NPS Preservation Briefs offer detailed, material-specific guidance for nearly every situation a homeowner will encounter.
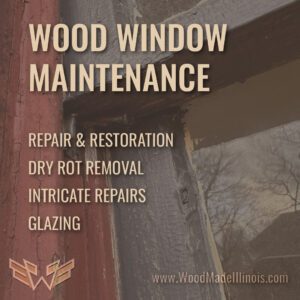
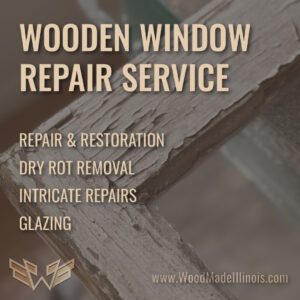
Windows are the most commonly misunderstood element. Old-growth wood sashes can typically be repaired through sash reglazing, epoxy consolidation of rotted sections, and weatherstripping, then paired with a well-fitted storm window for efficiency. Full replacement should be a last resort, not a default.
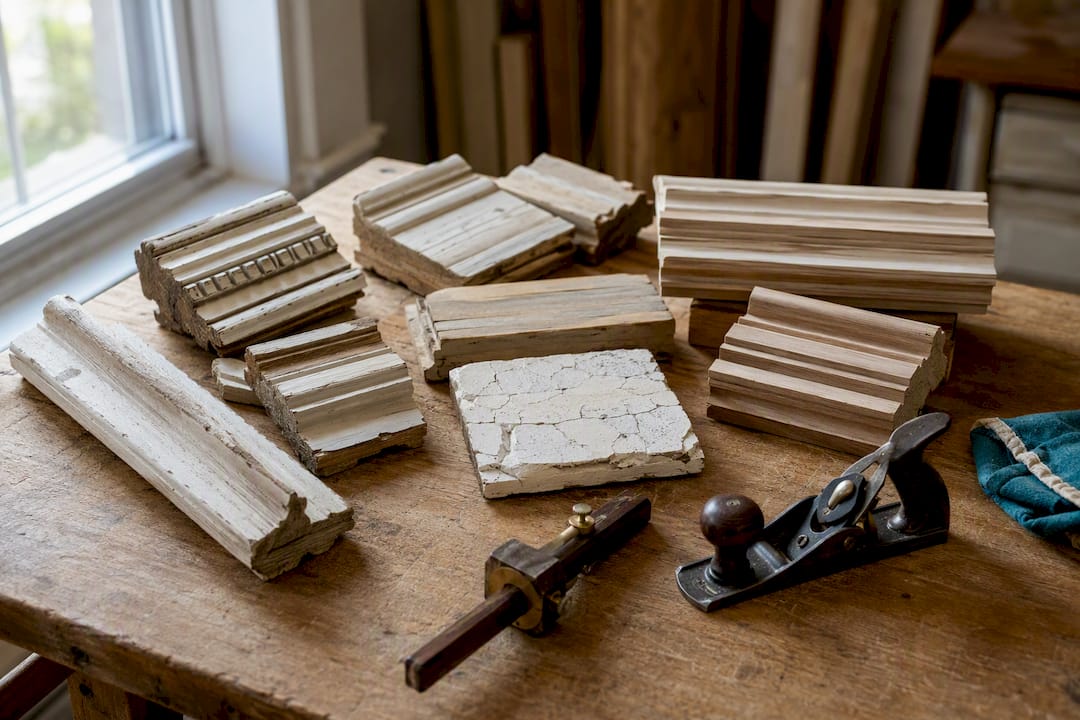
Woodwork and trim, including that gingerbread trim on a Victorian porch, can often be saved with dutchman patches (inserting new wood to replace only the damaged section) rather than tearing out an entire run of molding.
Plaster and lath stabilization depends on how much the lath has separated from the framing. Minor cracking can be repaired with breathable patching compounds; widespread lath failure needs a plaster specialist, not a drywall crew.
Masonry repairs demand lime-based mortar on historic brick, since modern cement mortar is harder than the brick itself and traps moisture that accelerates deterioration. Flashing details and breathable insulation approaches matter just as much as the visible repair, since trapping moisture behind walls causes damage you won’t see until it’s severe.
Homeowners weighing which original materials are worth restoring versus replacing can find guidance on evaluating repair versus replacement decisions for period residential features.
Pro Tip: Save every removed material sample, even damaged trim or cracked plaster. Contractors use these as templates for matching profiles and finishes on replacement pieces.
What Triggers Historic Commission Review?
Most local historic commissions require review for any exterior visible change: new windows, roofing material swaps, additions, demolitions, or altered siding. Interior work is typically exempt unless the property carries a landmark designation with interior covenants.
- Confirm your property’s review status early. Some historic districts require review for any exterior permit; others only flag specific features like street-facing facades.
- Prepare your submission packet. Commissions generally expect photos of current conditions, elevation drawings, material samples, and a written narrative explaining why your proposed work fits the district’s character.
- Build mockups for contested details. A physical sample of a proposed window profile or siding material can move an application through faster than description alone.
- Schedule around hearing dates, not the other way around. Most commissions meet monthly, and missing a submission deadline can push your project back by weeks.
Factor this timeline into your contractor’s schedule before signing anything, since delayed approvals are one of the most common causes of stalled historic projects.
How Should You Phase a Historic Restoration Project?
Sequence protects original fabric. Skipping ahead to finish work before the building envelope is sound almost guarantees rework, and rework on historic materials means damage that can’t always be undone.
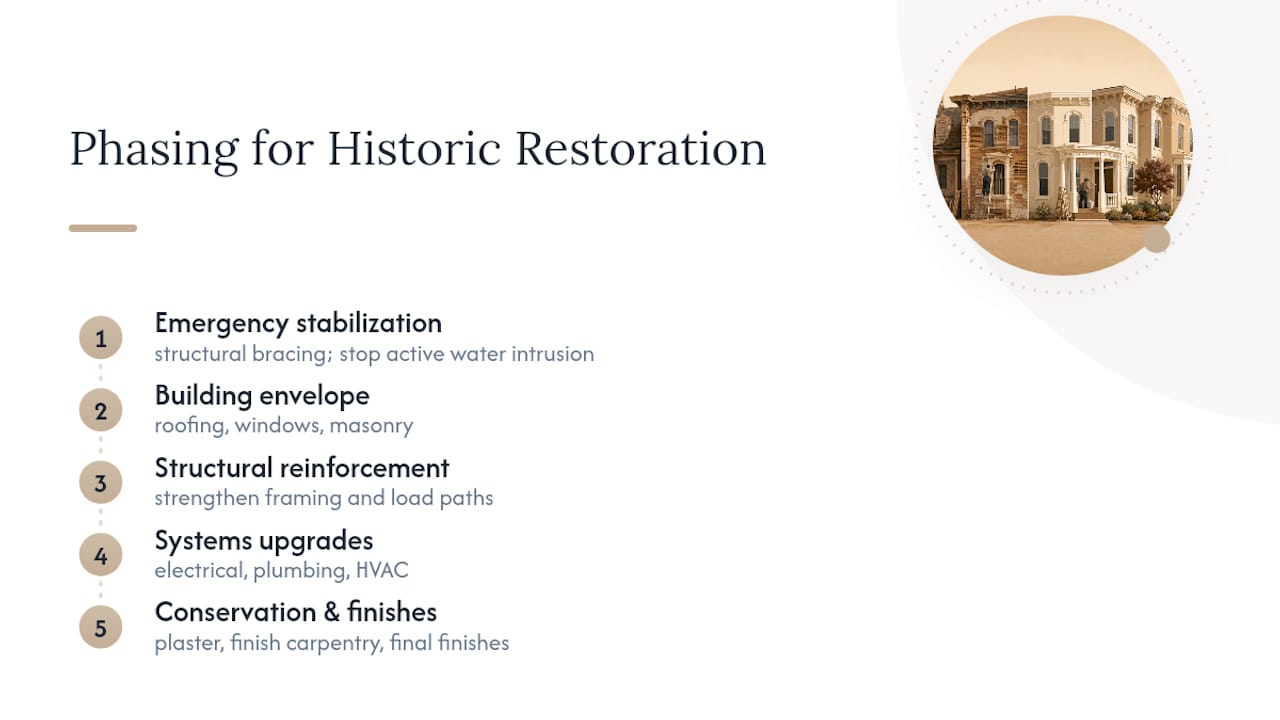
A dependable phasing order runs: emergency stabilization first (structural bracing, roof leaks, active water intrusion), then the building envelope (roofing, windows, masonry), then structural reinforcement, then systems upgrades, and finally conservation and finish work. Doing finish carpentry before the roof is watertight is how you end up repairing the same plaster twice.
Coordinate trades so destructive work doesn’t undo finished work. Electricians running new wire after plaster repair means cutting into plaster you just paid to fix. Build in contingency time, not just contingency budget. Hidden conditions behind old walls surface on nearly every historic project, and a schedule with zero slack turns every surprise into a crisis.
How Wood Made Illinois Approaches Historic Home Projects
Historic window restoration, custom millwork, and finish carpentry require the same patience whether the house sits in a landmark district or just has good bones worth respecting. Wood Made Illinois brings that approach to Central Illinois homeowners, starting every project with a consultation focused on documenting existing conditions and discussing which original materials are worth preserving.
Expect an initial visit to cover photos, condition notes, and a written scope before any work begins. Past projects, including work documented in the Creve Coeur archives, show how material repair decisions play out on real period homes, while examples from Germantown Hills illustrate custom millwork and built-in solutions suited to older floor plans.
How Do You Know if a Historic House Is Structurally Sound?
Before any cosmetic restoration starts, the structure underneath needs an honest assessment. Foundation settling, sagging floor joists, and roof structure sag are common in houses built before modern engineering standards, and they’re often masked by decades of cosmetic patching.
Start with the basics: check for cracks in foundation walls, uneven floors, doors and windows that no longer close square, and visible sagging in roof lines. These signs don’t necessarily mean catastrophic failure. Many historic homes have settled slightly and stabilized decades ago, but a structural engineer, not a general contractor, should confirm that before you proceed.
Common stabilization methods include underpinning failing foundation sections, sistering new lumber alongside deteriorated joists rather than replacing them outright, and installing steel bracing at load-bearing points that have shifted. The goal is always the least invasive fix that restores structural safety, consistent with the minimal-intervention principle that governs the rest of the restoration.
Structural work should happen before cosmetic restoration for a practical reason: fixing plaster or trim above a settling foundation just means fixing it again once the structure moves further. Get a structural engineer’s written assessment before signing contracts for any finish work, and build their recommendations into your project’s first phase, not an afterthought once the pretty stuff is underway.
How Do You Safely Handle Lead Paint and Asbestos in an Old House?
Houses built before 1978 almost certainly contain lead-based paint somewhere, and houses built before the 1980s frequently contain asbestos in insulation, floor tile, or pipe wrapping. Neither hazard means you can’t restore the house. Both mean you need to handle disturbance carefully.
Lead paint becomes dangerous when it’s sanded, scraped, or heat-stripped, releasing dust and fumes into the air. Encapsulation, sealing existing paint layers under a compatible new coating, is often the least disruptive option when the surface is stable. When removal is unavoidable, EPA-certified lead-safe work practices, including containment and specialized vacuum systems, are required by law for contractors working on pre-1978 housing.
Asbestos is similar: undisturbed material in good condition often poses less risk left alone than removed improperly. Suspect materials, old floor tile, pipe insulation, or textured ceiling finishes, should be tested before any renovation work disturbs them. If asbestos is confirmed, abatement should go to a licensed specialist, not a general renovation crew.
Never let a contractor sand painted trim or cut into old plaster without confirming lead and asbestos status first. This is one area where cutting corners doesn’t just risk the house. It risks the health of everyone living in it during and after the work.
How Do You Update Electrical, Plumbing, and HVAC Without Losing Character?
Systems upgrades are where most historic homes lose character fastest, usually because contractors take the shortest path rather than the most sensitive one. Knob-and-tube wiring and galvanized pipe genuinely need replacing in most cases; the question is how invasively that happens.
Electricians experienced with historic homes route new wiring through existing chases, wall cavities, and floor voids wherever possible, rather than cutting new paths through plaster and trim. The same logic applies to plumbing: running new supply lines through basements and closets, rather than tearing open finished walls, preserves more original material.
HVAC is often the hardest system to integrate. High-velocity mini-duct systems and ductless mini-split units can heat and cool a historic home without the large duct chases traditional forced-air systems require, which matters when you’re trying to avoid boxing in original ceiling heights or plaster crown detail.
Ask any systems contractor how they plan to route their work before approving a bid. If the answer involves cutting through original trim or plaster as a first resort, get a second opinion from someone with actual historic home experience.
What Records Should You Keep During Restoration?
A restoration project generates paperwork whether you plan for it or not: permits, material invoices, photos, contractor correspondence. Treating that paperwork as disposable is a mistake that costs homeowners real money later.
Keep a dated photo log of every phase, before, during, and after, for each major element you touch. This protects you if a commission questions your work later, and it documents condition for insurance and resale purposes. Save material samples and specification sheets for anything replaced, including paint colors, hardware finishes, and millwork profiles, so future repairs can match rather than guess.
File permits and commission approvals together in one folder, physical or digital, rather than scattered across email threads. When you eventually sell the house, this documentation becomes part of its value story, proof that work was done correctly and with historic sensitivity rather than as a quick flip.
How Do You Meet Building Codes Without Compromising Historic Character?
Modern building codes weren’t written with 1890s houses in mind, and that tension shows up constantly during restoration. Egress window sizes, stair rise-and-run ratios, and electrical panel capacity requirements often conflict with original dimensions and materials.
Most jurisdictions offer alternative compliance paths for historic structures, sometimes called equivalency provisions, that let a homeowner meet the safety intent of a code without matching its letter exactly. A narrower original staircase might pass inspection with added handrail support rather than a full rebuild to current stair dimensions.
Your local building department and historic commission need to be in the same conversation, not two separate approval tracks that contradict each other. A contractor experienced with historic homes will know which code sections have historic exceptions and which don’t, and will flag conflicts before they become expensive surprises mid-project. When in doubt, ask your building official directly whether an equivalency path exists before assuming a code requirement forces you to remove original material.
How Do You Keep Design Details Historically Accurate?
Accuracy lives in details most people never consciously notice: trim reveal depths, hardware finish, glass texture, paint sheen. Getting the big shapes right while missing these details is why some “restored” houses still look subtly wrong.
Match profiles exactly when replicating trim, using the original piece as a template rather than approximating from a catalog. Research period-appropriate hardware finishes and paint sheens; a glossy modern finish on a Craftsman-era door reads as wrong even to people who can’t say why. When original glass survives, keep it. Old glass has a wavy texture modern float glass can’t replicate, and it’s part of what gives a historic window its character.
Small details like preserving an original kitchen layout can also save both money and character compared to a full reconfiguration, since period kitchens often have proportions and traffic patterns worth keeping rather than erasing. The practice of careful documentation and minimal removal of original fabric applies just as much to small decorative details as it does to structural decisions.
A Stewardship Mindset, Not a Finish Line
Restoring an old house isn’t a project you complete so much as a responsibility you take on. Authenticity almost always costs more upfront, in labor, in patience, in sourcing the right materials, but it holds value that a quick remodel never will. Plan carefully, hire specialists who respect the house’s bones, and treat every decision as one a future owner will have to live with too.
— Wood
Let Wood Made Illinois Help With Your Restoration
Specialized carpentry experience is essential for work most historic homes actually need: historic window restoration, custom trim and millwork matched to original profiles, built-ins designed to fit period proportions, and finish carpentry that respects what’s already there instead of replacing it wholesale.

Before your consultation, gather what you can: photos of the areas you want restored, notes on which original materials matter most to you, and a rough sense of priorities if budget is tight. That documentation speeds up an accurate scope and bid. Wood Made Illinois offers creative carpentry solutions built around Central Illinois homes, and specific project types like built-in storage can be scoped directly from the site. Reach out through the main site to schedule a walkthrough and get a documented plan for your home’s next chapter.
Sources
- NPS: Preservation terminology and treatment standards
- National Trust for Historic Preservation: How to find contractors and architects for historic home renovation
- HUD: 203(k) program for rehabilitation loans
FAQ
What Is the Difference Between Historic Preservation and Restoration?
Preservation focuses on maintaining and stabilizing a building’s existing materials as they are, while restoration returns the structure to its appearance during a specific historic period, sometimes removing later alterations to do so.
How Much Does Historic Home Restoration Typically Cost?
Costs vary widely by scope and region, since labor for specialized trades like plaster repair and window restoration drives most of the expense; get itemized bids with contingency allowances rather than relying on a flat estimate.
What Financing Options Exist for Historic Home Restoration?
Options include HUD’s 203(k) rehabilitation loan program for structural and system upgrades, USDA rural repair loans and grants in eligible areas, and state tax credit programs administered through your state’s historic preservation office.
Do I Need Approval Before Restoring a Historic Home?
Approval is typically required for exterior changes if your property sits in a designated historic district; check with your local historic commission before starting demolition or altering visible facades.
How Do I Find a Contractor Qualified for Historic Restoration?
Request a formal Contractor’s Qualifications Statement (A305) or Architect’s Qualifications Statement (B305), check references on comparable historic projects, and consult your state SHPO’s contractor lists. Consultations are available for Central Illinois homeowners planning historic carpentry work.