A phased renovation approach breaks a home remodeling project into sequential stages completed one at a time, rather than attempting the entire scope at once. Think of it as the difference between a sprint and a marathon: a whole-house renovation done in one continuous push demands full budget deployment upfront, while a staged renovation process lets you build deliberately, phase by phase, with each stage informing the next. The industry standard prioritizes safety and structure first, followed by system upgrades, with cosmetic finishes reserved for last to avoid costly rework.
The core logic is straightforward:
- Structural and safety work first: roof, foundation, load-bearing repairs, mold or asbestos remediation
- Major systems second: HVAC, plumbing, electrical panel, insulation, windows
- Functional rooms third: kitchen, primary bathroom, basement finishing
- Cosmetic finishes last: flooring, paint, trim, landscaping
Reversing this order is the single most common and expensive mistake homeowners make. A freshly tiled bathroom means nothing if the plumbing behind the wall still needs replacing. The phased remodeling strategy exists precisely to protect each investment by building on a sound foundation before adding the next layer.
What are the real benefits of phasing your renovation?
A staged renovation process offers advantages that go well beyond simply spreading out the work. Here are the practical gains homeowners consistently experience.
-
Financial breathing room. Phasing lets you deploy renovation budget over time rather than all at once. You can save, pay cash for a phase, and avoid carrying a large loan for the full project scope. Phased budgeting typically spans multiple years, aligning costs with your actual cash flow and financing capacity.
-
You can stay in your home. Careful sequencing keeps at least one functional kitchen and one functional bathroom available at all times, making it possible to occupy the home throughout construction. That matters enormously for families who cannot or do not want to vacate.
-
Better design decisions over time. Living with completed phases gives you real-world feedback before committing to the next round of choices. A reconfigured circulation path, once experienced daily, tells you far more about what the next phase needs than any floor plan drawn in advance.
-
Adaptability when surprises appear. Older homes routinely reveal outdated wiring, structural wear, or previous modifications once walls open. Phasing lets you absorb those discoveries and adjust priorities without derailing the entire project budget.
-
Reduced decision fatigue. A whole-house renovation involves hundreds of decisions, from structural priorities to door hardware. Limiting the active decision set to one portion of the home at a time produces clearer thinking and fewer regrets.
-
Sustainability through restraint. Living with an existing element longer often reveals it does not need replacement at all. Phasing slows the pace enough to preserve functional materials and reduce unnecessary waste, which aligns with responsible resource use.
-
Flexibility as your needs evolve. A family’s priorities shift. A growing household, a new remote work arrangement, or a change in how you use a space can all influence what Phase 3 looks like compared to what you imagined when you started Phase 1. That flexibility is a genuine structural advantage of phased home improvement.
How to plan and execute a phased renovation step by step
Good planning is the skeleton of a successful phased renovation. Without it, phases completed years apart can feel disconnected, and early decisions can physically block later ones.
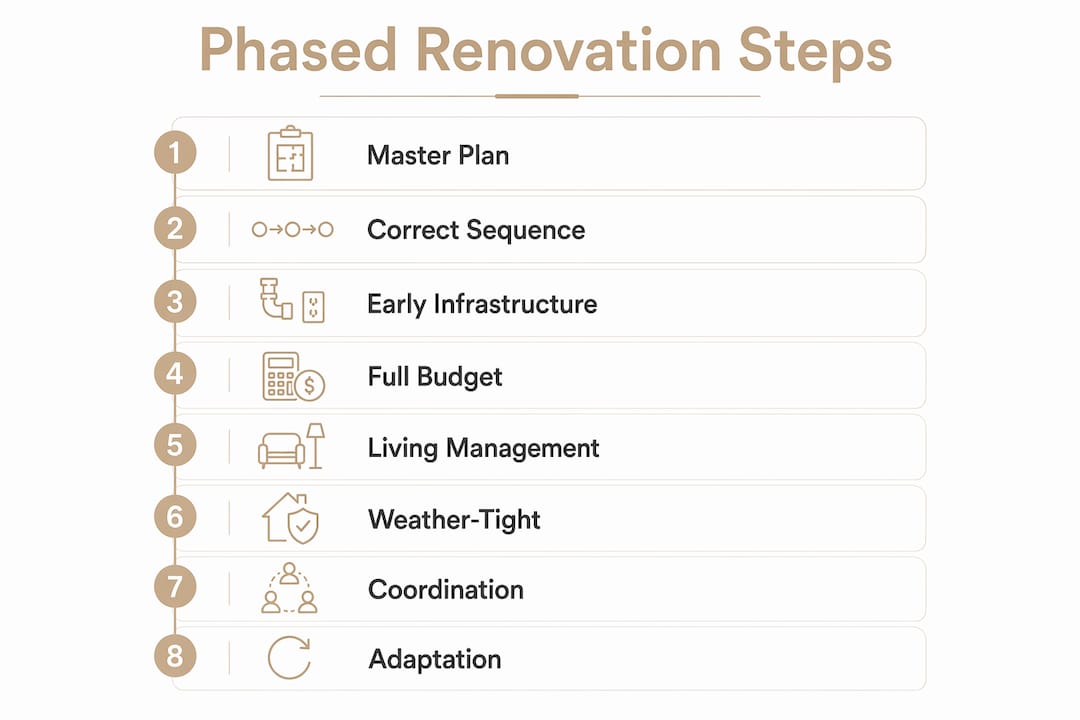
Step 1: Create a master plan before any work begins
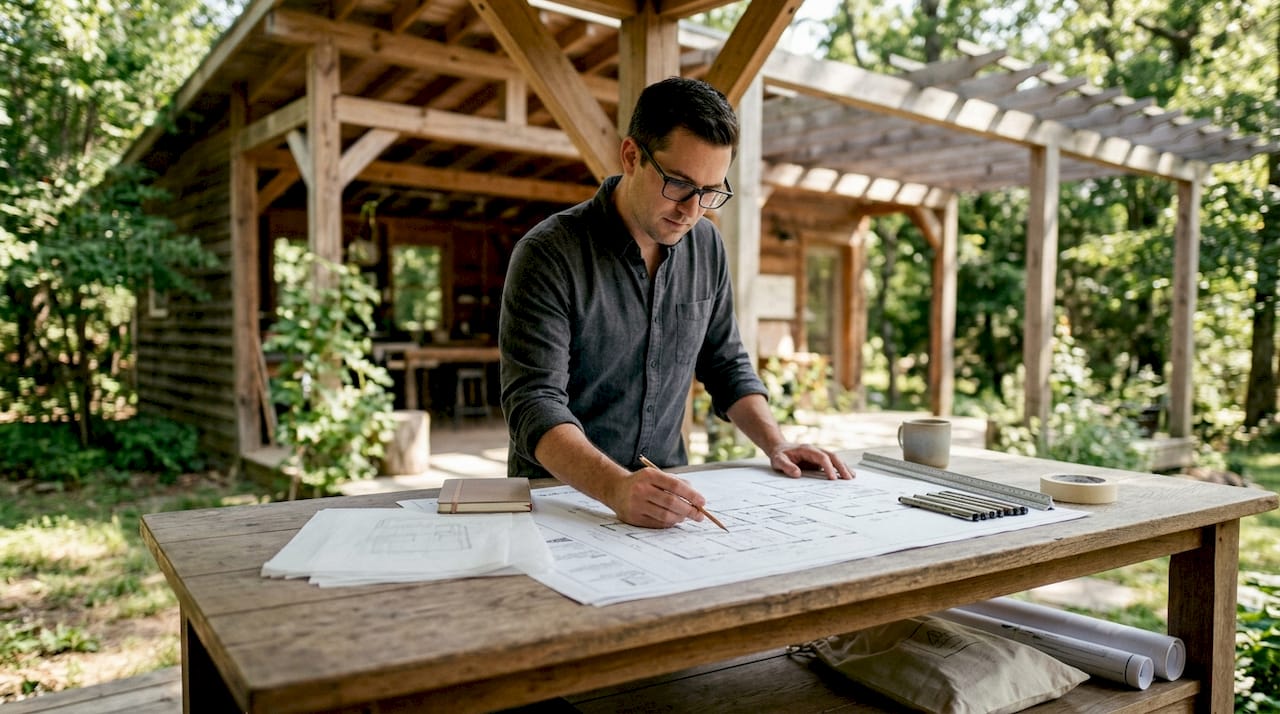
A master plan created by an architect or designer is not optional. It establishes design continuity across all phases, coordinates structural and system decisions, and prevents the most common trap: a Phase 1 wall removal that makes the Phase 3 kitchen layout impossible. Lock in millwork profiles, window styles, and finish palettes early so each phase feels like part of the same home, not a patchwork of separate projects. A renovation scope of work document is the practical companion to that master plan.
Step 2: Follow the correct phase sequence
The build order is a dependency chain, not a preference. Every authoritative construction source teaches the same sequence:
- Phase 1: Structural repairs, roof, foundation, electrical panel, HVAC replacement, kitchen renovation
- Phase 2: Primary bathroom, secondary bathrooms, primary bedroom suite
- Phase 3: Common areas, secondary bedrooms, flooring, trim, paint
- Phase 4: Exterior upgrades, landscaping, basement finishing
Starting with the kitchen and main living spaces restores daily normalcy fastest. Guest spaces and exterior work come last because they have the least impact on day-to-day life.
Step 3: Run all infrastructure during early demolition
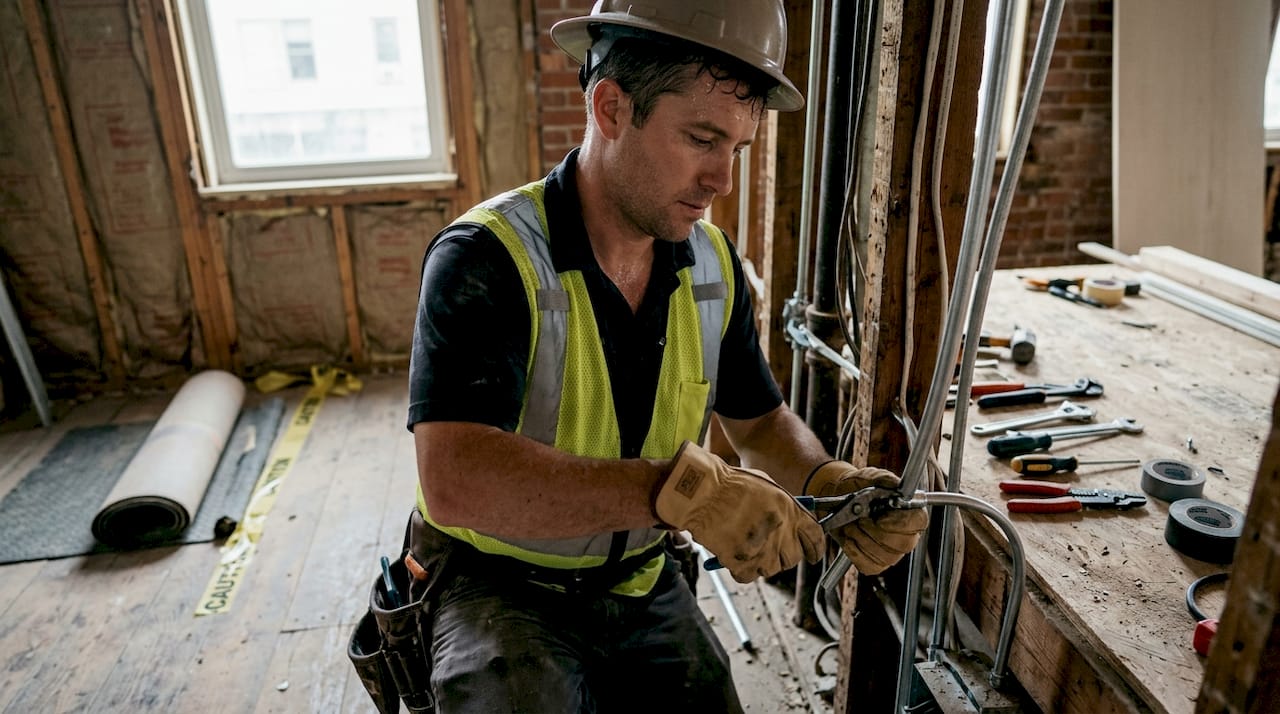
This is where phased renovations either save or lose serious money. When walls are open during Phase 1, that is your one opportunity to run electrical circuits, plumbing rough-ins, data lines, and HVAC changes at a fraction of the cost of retrofitting through finished walls later. Missing that window is the most expensive mistake in a staged renovation process. Plan every future infrastructure need before demolition begins, even if the finish work is years away.
Step 4: Budget for the full arc, not just the next phase
Phased renovation budgeting spans multiple years, and material costs rise over time. Factor that reality into your projections from the start. Also account for repeated contractor mobilization costs, which add up across multiple phases. The tradeoff is real: phasing typically costs more in total material and mobilization than a continuous build of the same scope, but it can produce meaningful savings in financing costs compared to funding everything with a single large loan. For homeowners who cannot deploy the full budget at once, that tradeoff makes phasing the only feasible path. Woodmadeillinois recommends reviewing renovation budgeting strategies before committing to a phase order.
Step 5: Manage your living situation deliberately
Phase sequencing directly controls how disruptive construction feels. A kitchen remodel and a bathroom remodel in the same phase means weeks without normal cooking or bathing. Spacing those projects across separate phases keeps life manageable. Temporary solutions, such as a utility sink in the garage or a portable cooktop, can be built into the plan from the beginning rather than improvised under stress.
Step 6: Complete each phase to a sealed, weather-tight standard
Each phase must be completed to weather-tight and code-compliant standards before any pause. Leaving exposed structural elements or open systems creates safety risks and complicates future inspections. If budget runs short mid-phase, the correct response is to cap pipes, seal electrical boxes, and close the structure properly before stopping, not to leave work half-finished.
Step 7: Coordinate contractors and suppliers across phases
Trades need advance notice to schedule efficiently. Communicate the full master plan to your general contractor from day one so they can coordinate plumbers, electricians, and HVAC technicians across phases rather than treating each phase as a standalone project. Material lead times matter too: cabinetry commonly runs 6–12 weeks, windows and doors 8–14 weeks. Order long-lead items the same week you submit for permits.
Pro Tip: Ask your contractor to document completed work with photos and inspection records at the end of each phase. That documentation protects you when a new trade crew arrives for Phase 2 and needs to understand what is already inside the walls.
Step 8: Adapt when unexpected issues arise
No plan survives first contact with an old house entirely intact. When surprises appear, such as a hidden structural beam, outdated knob-and-tube wiring, or a failing drain line, the phased approach actually helps. You have not committed every dollar to a single continuous build, so you have room to absorb the discovery and reprioritize. Adjust the master plan, document the change, and confirm that the revision does not conflict with later phase infrastructure. Avoiding common renovation mistakes during this adjustment process keeps the project on track.
What do renovation experts say about sequencing and design cohesion?
The most experienced renovation professionals are consistent on one point: phased renovation is not simply a sequence of smaller projects. It is a long-term design strategy that requires the same upfront clarity as a single continuous build.
That framing captures something the checklist-driven approach often misses. Phased home improvement is not just a financial tool. It is a design methodology that treats the home as a living document, revised through experience rather than fixed by a single set of drawings.
Key best practices from renovation professionals:
- Engage an architect or designer to create the master plan before Phase 1 begins, even if later phases are years away. Without that overarching framework, design cohesion erodes and phases completed years apart can feel visually disconnected.
- Never skip infrastructure planning during open-wall phases. The cost difference between running a new circuit through open walls versus finished walls is substantial, and that gap only widens for plumbing rough-ins.
- Complete each phase to a fully sealed, code-compliant standard before pausing. Partial completion creates safety risks and inspection complications that cost more to resolve than finishing properly the first time.
- Account for permit timelines in your phasing schedule. Some jurisdictions require permits to be completed within 6–12 months, which may mean pulling separate permits for each phase.
- Avoid the trap of starting with cosmetic finishes. Starting with cosmetics before addressing structural or system issues leads to waste and damage when the real work eventually begins.
- Watch for DIY pitfalls in early phases, particularly around door and window installations, where sequencing errors can compromise the building envelope before interior work begins. Resources like this guide on DIY door replacement illustrate how easily the wrong order creates rework.
Woodmadeillinois brings over 100 years of combined carpentry experience to phased renovation projects across Central Illinois. The team understands that each phase of a home’s transformation carries the weight of every phase that follows, and that the details, millwork profiles, material selections, and spatial proportions, must be considered as a whole from the very beginning.
Ready to start your phased renovation?

Whether you are planning a kitchen-first Phase 1 or mapping out a multi-year whole-house transformation, Woodmadeillinois can help you build a plan that holds together from the first nail to the final finish coat. As trusted local carpentry experts in Central Illinois, the team offers personalized design consultations and custom installations that carry design cohesion across every phase of your project. Reach out to start the conversation before demolition begins, because the decisions made on paper are always the least expensive ones.
Key Takeaways
A phased renovation approach succeeds when structural and safety work comes first, infrastructure is planned during open-wall phases, and a master plan maintains design cohesion across every stage.
| Point | Details |
|---|---|
| Correct phase order | Always sequence structural repairs, then system upgrades, then functional rooms, then cosmetic finishes. |
| Infrastructure timing | Run electrical, plumbing, and HVAC during open-wall phases; retrofitting through finished walls costs far more. |
| Master plan required | An architect or designer must create a cohesive plan before Phase 1 begins to prevent disconnected results. |
| Phase completion standard | Each phase must be weather-tight and code-compliant before any pause to avoid safety risks and inspection issues. |
| Budget for the full arc | Factor in material cost increases over time and repeated mobilization costs when planning a multi-year phased project. |