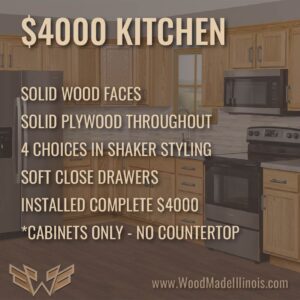
Carpenters personalize standard designs by adapting dimensions, materials, joinery, and finishes to match the exact contours of your space and the specific demands of your lifestyle. Standard carpentry products are manufactured in fixed increments, typically 3-inch steps, which means they rarely align perfectly with real rooms. Skilled carpenters bridge that gap through a combination of precise measurement, material knowledge, and craft techniques that transform off-the-shelf plans into tailored wooden creations.
Here is what that personalization process looks like in practice:
- Dimension adjustment: Carpenters take field measurements at floor, mid-height, and ceiling level, because floors are rarely level and walls rarely plumb.
- Material selection: Wood species are chosen based on grain, density, and stability to match both the room’s environment and the homeowner’s aesthetic preferences.
- Joinery adaptation: Standard mortise-and-tenon or dovetail joints are modified to account for wood movement and the specific load requirements of each piece.
- Custom finishes and hardware: Stains, topcoats, and pulls personalize the look well beyond what any catalog offers.
- Hybrid construction: Combining standard and custom elements keeps costs manageable while still achieving a one-of-a-kind result.
1. Smart custom shelving and storage that fits your actual space
Built-in shelving is where personalized woodworking designs deliver the most visible payoff. A carpenter working with an awkward alcove, a chimney breast, or an angled wall does not fight the architecture. Instead, those irregular features become the framework for storage that no stock unit could replicate.
- Alcove and niche shelving: Carpenters scribe shelves directly to uneven walls, eliminating the gaps that plague prefabricated units.
- Modular components with filler panels: Standard shelf boxes are combined with custom filler strips and face frames to occupy every usable inch.
- Vertical storage in tight areas: Floor-to-ceiling runs maximize capacity in rooms where floor space is limited.
- Wood and finish choices: Quarter-sawn oak, cherry, or painted MDF are selected to match the room’s existing palette and the homeowner’s durability needs.
- Integrated lighting and hardware: Recessed LED strips and specialty pulls turn a functional shelf into a design statement.
For homeowners exploring custom shelving options, the difference between a built-in and a freestanding unit is not just visual. It is structural, spatial, and permanent in the best possible way.
2. Trim and finishing touches that transform standard carpentry
Finish carpentry is the skin of a room. Get it right, and every surface reads as intentional. Get it wrong, and even expensive cabinetry looks unfinished. The rules of finish carpentry are unforgiving precisely because the details are so visible.
- Custom molding profiles: Carpenters mill or source profiles that match the architectural period of the home, whether that means a Victorian ogee or a clean Craftsman bead.
- Mixing standard and bespoke trim: A standard base cap paired with a custom-routed top edge creates a profile that reads as fully custom at a fraction of the cost.
- Hardware selection: Unlacquered brass, matte black, or brushed nickel pulls and hinges shift the entire character of a piece.
- Matched or contrasting finishes: A carpenter may stain trim to match existing flooring or choose a contrasting painted finish to frame a room’s focal point.
- Precise miters and coped joints: Coped inside corners hold tighter over time than mitered ones, because wood movement does not open a visible gap.
Pro Tip: Use a folding wooden rule with a sliding brass extension for inside measurements in finish carpentry. It reads more accurately than a tape measure in tight spaces, which matters when you are scribing a piece of casing to a door frame that is not quite plumb.
3. Custom cabinetry personalization beyond standard builds
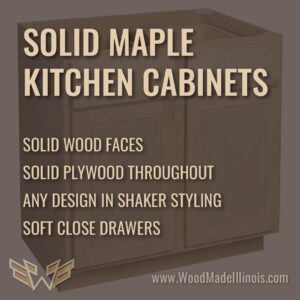
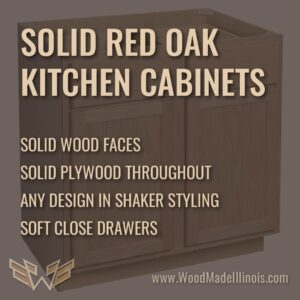
Custom cabinetry tailored for irregular kitchens uses every inch of available space with storage configurations and material finishes that standard cabinetry simply cannot match. The difference shows up in three concrete areas: fit, flexibility, and longevity.
- Sizing to awkward spaces: Carpenters build to the room’s actual dimensions, not to a manufacturer’s nearest increment. Corner cabinets, angled runs, and low-clearance areas all get purpose-built solutions.
- Wood species and finish selection: Quarter-sawn oak resists cupping better than plain-sawn lumber, making it a strong choice for cabinet doors in humid kitchens or bathrooms.
- Specialty hardware: Soft-close hinges, pull-out drawer systems, and integrated waste bins are specified during the design phase, not retrofitted afterward.
- Custom interior layouts: Drawer dividers, spice pull-outs, and vertical tray storage are built to the homeowner’s actual cooking and storage habits.
- Architectural trim profiles: Original molding details from older homes are matched or extended, so new cabinetry reads as part of the original structure rather than an addition.
- Hybrid builds: Standard cabinet bases upgraded with custom molding and unique hardware deliver a refined look at a more accessible price point.
4. Personalizing carpentry across different rooms and layouts
Every room presents a different set of constraints, and a carpenter’s job is to turn those constraints into design assets. Irregular floor plans, low ceilings, and uneven walls are not problems to work around. They are the raw material of a personalized home.
- Kitchens: Custom cabinetry accommodates non-standard ceiling heights, angled soffits, and island configurations that stock cabinets cannot address. Explore kitchen design options to see how far personalization can go.
- Bedrooms: Built-in wardrobes and maximized closet systems replace freestanding furniture, reclaiming floor space and creating a cleaner visual line.
- Home offices: Small office carpentry solves the ergonomic and storage challenges that generic desks and shelving cannot. A carpenter can build a desk to the exact height and depth a remote worker needs, with integrated cable management and task lighting.
- Living rooms: Built-in entertainment centers and flanking bookcases frame a fireplace or TV wall, creating the kind of architectural presence that furniture alone never achieves.
- Overcoming irregular layouts: Low ceilings call for horizontal emphasis in trim and cabinetry. Uneven walls get scribed panels that follow the contour rather than leaving a visible gap. Adding architectural character indoors is often a matter of working with what the house already offers.
5. Expert insights on blending standard and custom carpentry techniques
The most cost-effective personalized carpentry projects are rarely fully custom or fully standard. They are hybrids, and the skill lies in knowing where to invest in custom work and where a standard component does the job just as well.
- Start with a full-scale mockup. Cardboard or foam board cut to the planned dimensions reveals fit problems before a single board is cut. In sloped attics or under stairwells, this step alone prevents costly material waste.
- Use a digital angle finder for non-square spaces. Walls and ceilings that deviate even a few degrees from plumb or level require compound cuts. A digital angle finder reads the exact angle so the carpenter can transfer it directly to the saw.
- Account for wood movement from the start. Moisture content should sit at 6–8% for indoor furniture, verified with a moisture meter. Frame-and-panel construction allows wood to expand and contract without splitting or binding, which is why it has been the standard for cabinet doors for centuries.
- Select species for the room’s environment. Hardwoods outlast softwoods in high-traffic surfaces. Quarter-sawn cuts resist seasonal movement better than flat-sawn boards in the same species.
- Personalize hardware last, but plan for it first. The hardware you choose affects the drilling layout of every door and drawer. Specifying pulls and hinges before construction begins prevents rework.
- Combine standard bases with custom faces. A standard cabinet carcass with a custom face frame, custom-milled door profiles, and hand-selected hardware reads as fully bespoke to anyone in the room.
Pro Tip: When working with reclaimed or pallet wood, check moisture content before milling. Reclaimed lumber often carries uneven moisture levels that cause movement after installation. Let it acclimate in the installation space for at least two weeks before cutting.
For homeowners who want to explore carpentry personalization ideas across a range of budgets, the hybrid approach consistently delivers the strongest return on investment. You can also find guidance on choosing hardware that elevates even a standard door into something that reads as considered and refined.
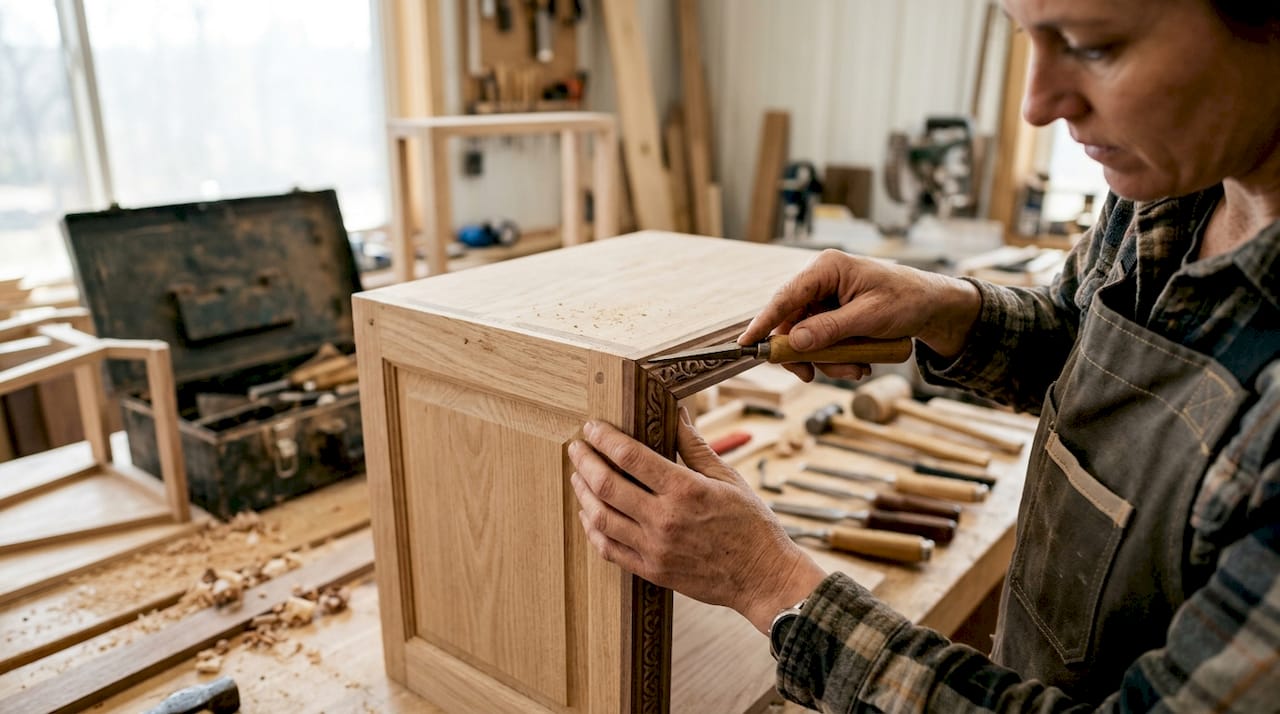
6. How to plan and execute a personalized carpentry project
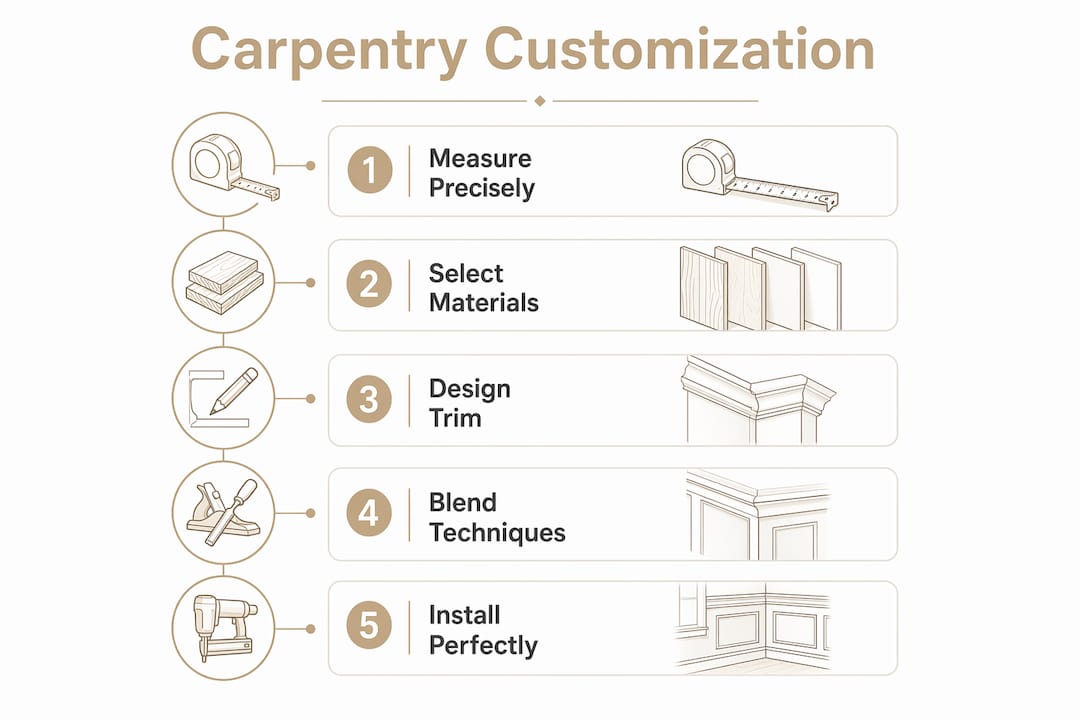
A well-run carpentry project follows a clear sequence. Skipping steps early creates compounding problems later, and the most common failures trace back to measurement errors or material decisions made before the space was fully understood.
- Survey the space thoroughly. Measure height, width, and depth at multiple points. Note fixed elements like pipes, vents, and electrical outlets. Photograph the room from every angle.
- Sketch the design at scale. Free tools like SketchUp allow you to overlay your planned piece on the room’s actual dimensions. This is where conflicts with baseboards, door swings, or ceiling fixtures become visible before construction begins.
- Select and acclimate your materials. Choose your wood species based on the room’s humidity, the piece’s function, and your finish preferences. Store the lumber in the installation space for at least two weeks so it reaches equilibrium moisture content.
- Build a full-scale mockup for complex pieces. For anything going into a non-standard space, cardboard templates confirm fit before wood is cut.
- Mill and cut with precision. Finish carpentry tolerances are tight. Splitting the pencil line with a saw cut, rather than cutting to one side of it, is the difference between a joint that closes cleanly and one that shows a gap.
- Dry-fit before gluing. Assemble the entire piece without adhesive to confirm every joint closes and every dimension is correct. Adjustments made at this stage cost minutes. Adjustments made after glue-up cost hours.
- Finish with intention. Apply a pre-conditioner on porous or blotchy species like pine or cherry before staining. Choose a topcoat sheen that suits the room’s light levels and traffic. Proper finishing protects against wear and locks in the color and character of the wood for years.
Key Takeaways
Carpenters personalize standard designs most effectively by combining precise measurement, informed material selection, and targeted custom modifications rather than rebuilding everything from scratch.

| Point | Details |
|---|---|
| Standard products have fixed increments | Stock cabinets are made in 3-inch steps; custom work fills every inch of irregular spaces. |
| Moisture content drives durability | Wood for indoor furniture should reach 6–8% moisture content, verified with a meter, before installation. |
| Hybrid builds maximize value | Standard cabinet bases with custom molding and hardware deliver a bespoke look at a lower cost. |
| Hardware choices define character | Specifying pulls and hinges before construction prevents rework and shapes the entire aesthetic. |
| Mockups prevent costly errors | Full-scale cardboard templates confirm fit in non-standard spaces before any wood is cut. |
Ready to personalize your home with carpentry that fits your space exactly? Woodmadeillinois brings over 100 years of combined carpentry experience to homes and businesses across Central Illinois. Whether you need a built-in for an awkward alcove or a fully custom kitchen, the team at Woodmadeillinois designs and builds to your exact specifications. Connect with trusted local carpentry experts to start your project.