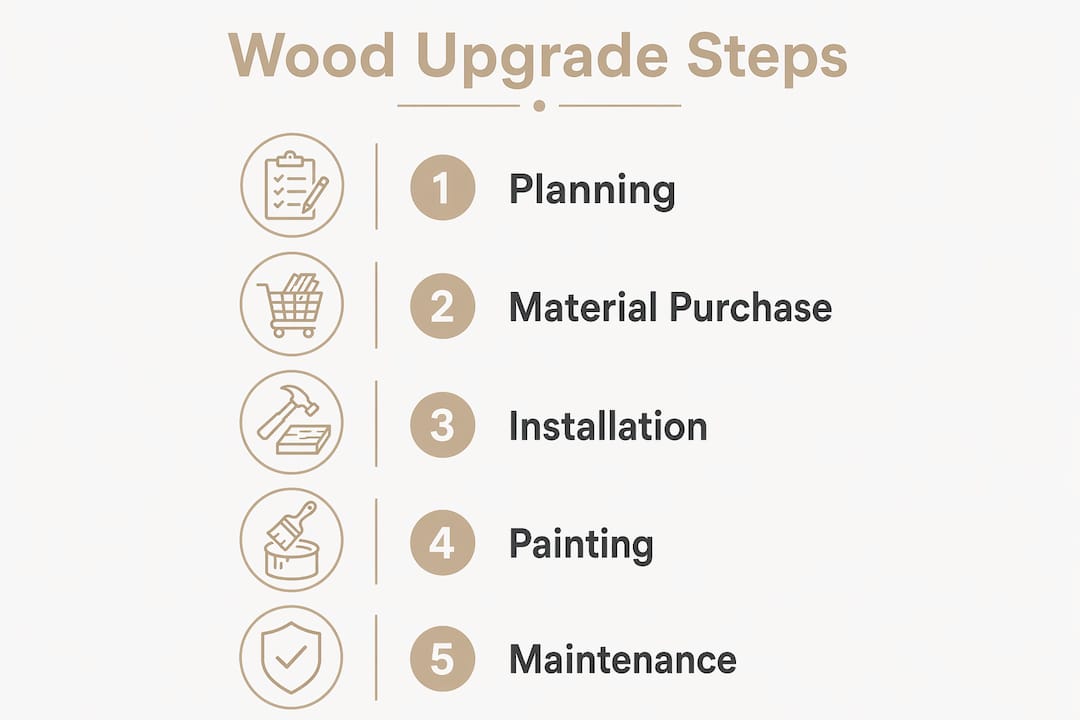
Paint and wood are defined as the two highest-return materials in affordable home renovations, capable of transforming a dated interior without structural work or significant expense. The role of paint and wood in cheap upgrades goes far beyond cosmetics. Paint acts as the skin protecting the bones of a home, sealing surfaces against moisture and wear. Wood details add architectural bones where none exist, creating the kind of custom, layered look that buyers and homeowners associate with quality craftsmanship. Used together, these two materials deliver results that punch well above their price point.
How does paint refresh and protect wood surfaces affordably?
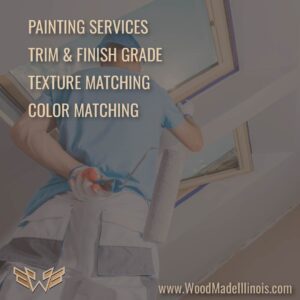
Paint serves a dual purpose on wood: it protects and it transforms. Wood is a porous material that absorbs moisture, which leads to swelling, warping, and eventual decay. A quality coat of paint seals those pores, extending the life of cabinets, trim, furniture, and floors by years.
The financial case is equally strong. Interior paint costs average $75 per gallon, and painting multiple rooms typically runs under $500 total. That makes it the highest ROI upgrade per dollar spent among all common home improvements. No other single project delivers that kind of visible change at that price.
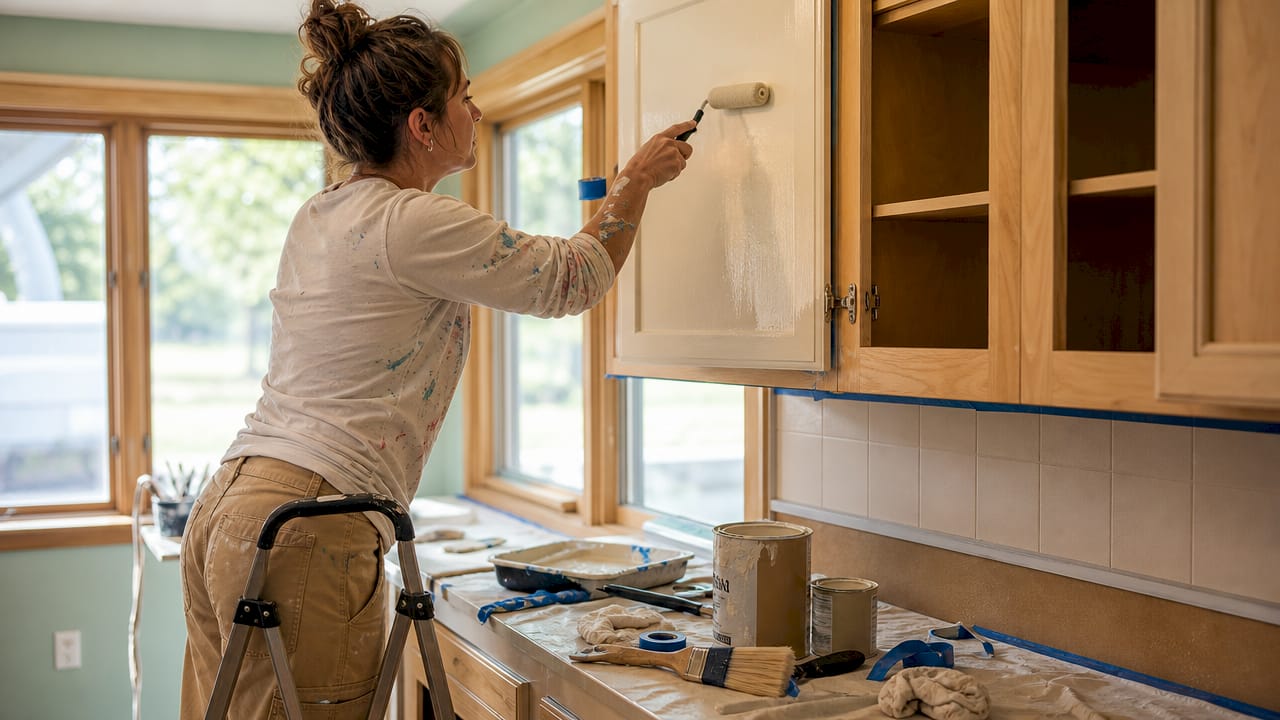
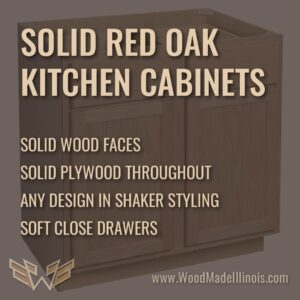
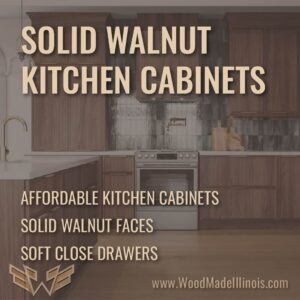
Painting cabinets deserves special attention. Kitchen and bathroom cabinets are the visual anchors of their rooms, and a fresh coat of paint on cabinet boxes and doors can make a kitchen feel entirely new. Pair that with updated cabinet hardware costing $75–$600, and the transformation is dramatic relative to the investment.
Choosing the right paint and primer for wood
Not all paint performs equally on wood. The surface preparation determines whether a paint job lasts two years or ten.
- Degrease first. Kitchen cabinets and trim accumulate grease and grime that prevent adhesion. Wipe all surfaces with a TSP (trisodium phosphate) solution before priming.
- Use a stain-blocking primer. High-quality, stain-blocking primer is non-negotiable for painting over wood or non-porous surfaces. It prevents tannins and old stains from bleeding through the topcoat.
- Sand between coats. Light sanding with 220-grit paper between primer and paint coats creates a smooth, professional finish.
- Select the right sheen. Semi-gloss and satin finishes hold up better on high-touch surfaces like cabinets and trim. Flat paint belongs on ceilings, not woodwork.
Pro Tip: Apply primer with a small foam roller on flat cabinet faces and a brush on edges and details. This combination eliminates brush marks and speeds up coverage significantly.
What wood upgrades add the most value for under $200?
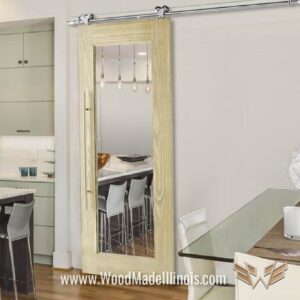
Wood trim and molding projects represent some of the most cost-effective DIY projects available to homeowners. They add architectural interest that reads as custom and expensive, even when the materials cost very little.
Picture frame molding, chair rails, and board and batten installations cost under $200 in materials for an average room. That figure includes the lumber, adhesive, nails, and caulk. The labor is the homeowner’s time, typically a weekend afternoon.
High-value wood upgrade projects
| Project | Approximate Material Cost | Visual Impact |
|---|---|---|
| Board and batten accent wall | Under $150 | High: adds depth and texture |
| Picture frame molding | Under $100 | High: creates architectural detail |
| Chair rail installation | Under $75 | Medium: defines room zones |
| Window and door casing upgrade | Under $100 | High: frames openings cleanly |
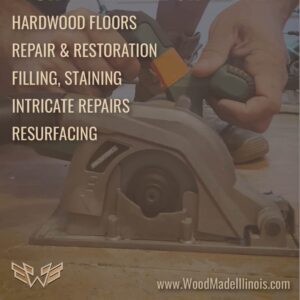
Hardwood floor refinishing stands apart from these trim projects in both scale and return. Refinishing hardwood floors recovers 147% of project cost, which outperforms nearly every other home improvement category. That figure reflects how strongly buyers respond to well-maintained hardwood versus carpet or worn flooring.
Getting a professional finish on wood trim
The difference between a DIY wood project that looks custom and one that looks amateur comes down to three steps.
- Fill every nail hole. Wood filler applied to nail holes and sanded flush before painting creates a seamless surface. Skipping this step leaves visible dimples under paint.
- Caulk all seams. Seamless caulking along the top and bottom edges of trim where it meets the wall is what separates a built-in look from a stuck-on look.
- Condition softwoods before staining. Pine and other softwoods absorb stain unevenly. A pre-stain wood conditioner applied before the stain prevents blotching and creates an even, rich tone.
Pro Tip: For board and batten, use a level and chalk line to mark stud locations before you start. Nailing into studs rather than just drywall keeps the boards flat and prevents warping over time.
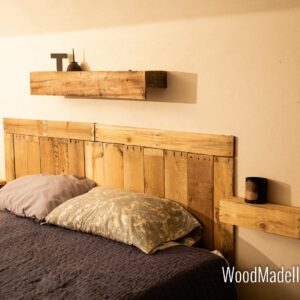
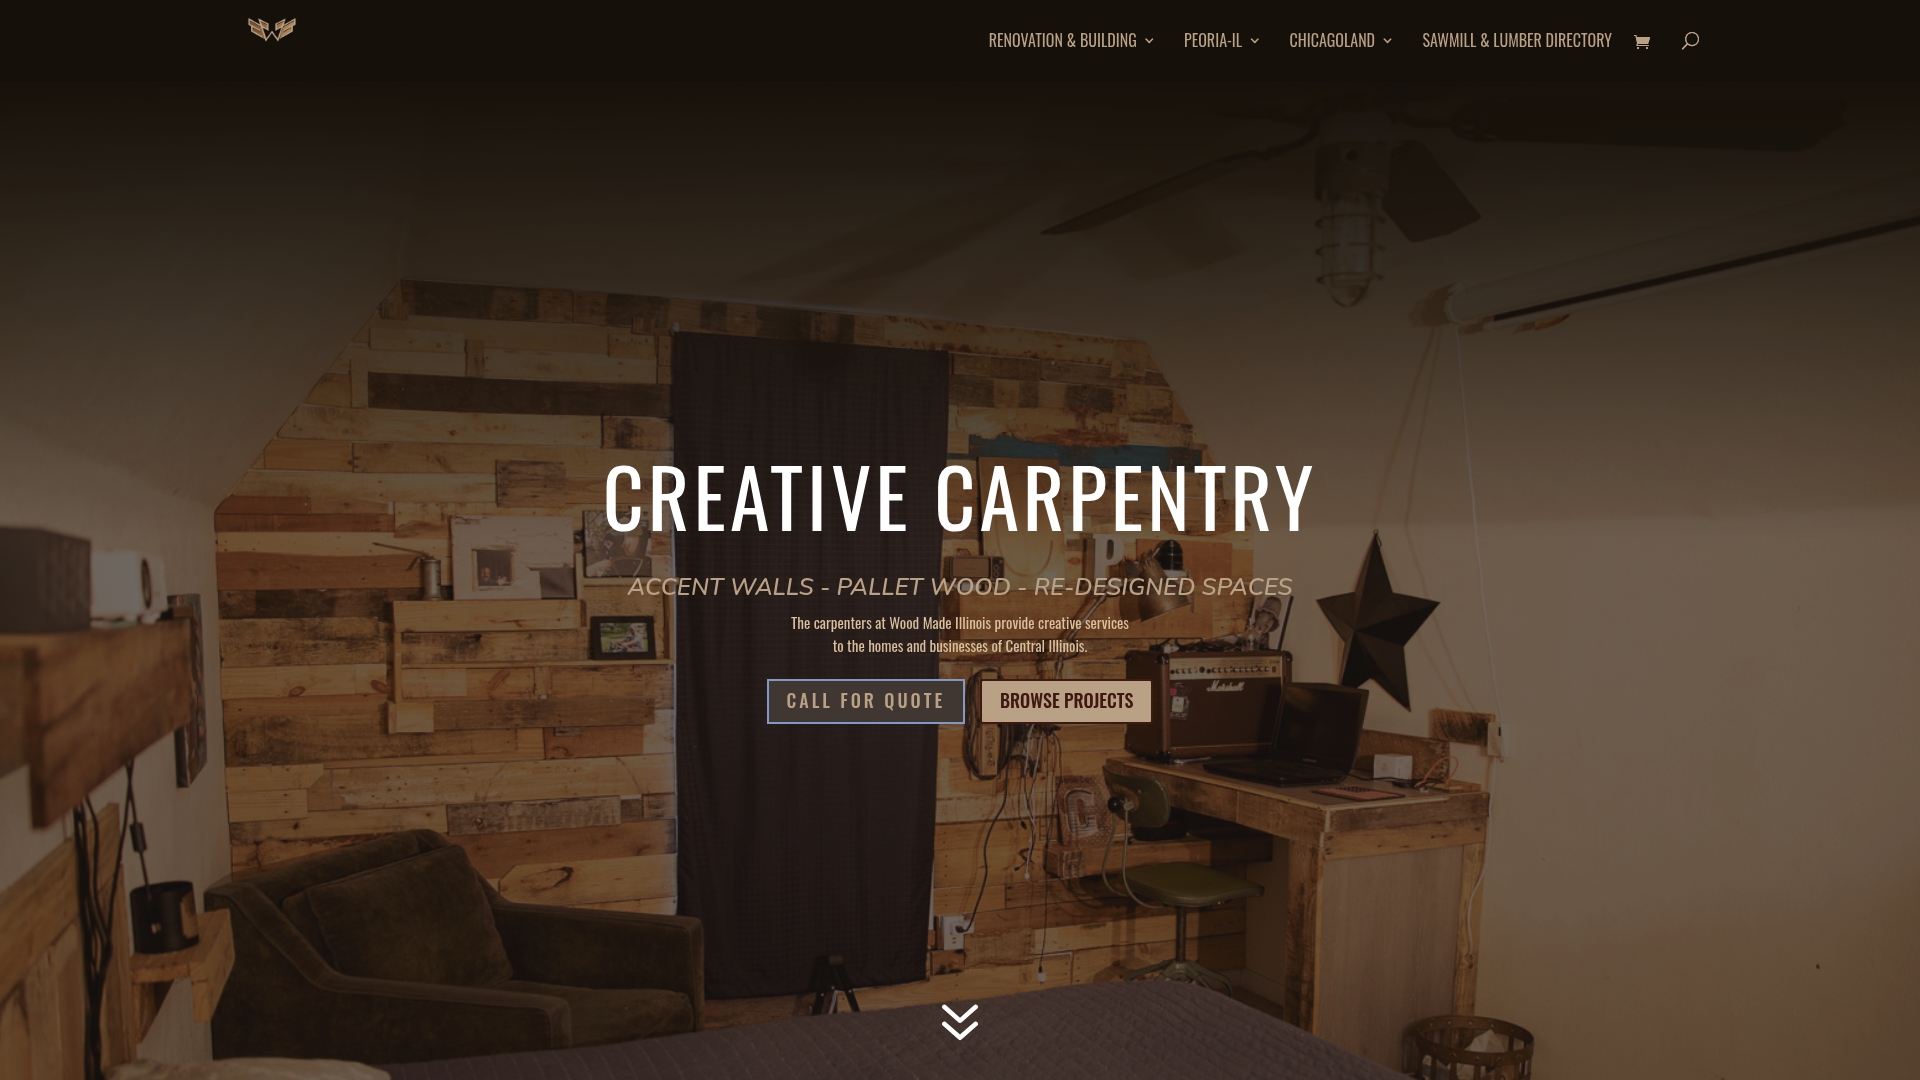
Woodmadeillinois has completed pallet wood wall installations that demonstrate exactly this principle. Reclaimed pallet wood, properly prepared and finished, creates a textured accent wall that looks like a high-end design feature at a fraction of the cost of custom millwork.
How do paint and wood work together for a designer look?
The most effective budget-friendly home upgrades combine paint and wood rather than relying on either alone. Paint acts as an equalizer, neutralizing dated surfaces and creating a clean backdrop. Wood accents then provide warmth, texture, and visual weight that paint alone cannot deliver.
Paint can transform dated wood and tile surfaces quickly and affordably, making it the logical first step before adding any wood detail. A freshly painted room with new trim reads as intentional and designed. The same room with only new trim but old, dingy paint reads as unfinished.
Mixing materials without a matchy look
Professional decorators consistently recommend mixing wood tones with metals and contrasting paint colors to create depth and avoid a flat, catalog appearance. The goal is layered interest, not perfect coordination.
- Vary your wood tones. A light oak floor paired with darker walnut shelving creates contrast. Matching every wood element to the same tone flattens the visual field.
- Use paint to anchor the palette. A deep navy or warm charcoal on a single accent wall gives wood tones something to play against. Neutral walls let wood accents carry the room.
- Introduce metal hardware. Matte black or brushed brass hardware on painted cabinets adds a third material layer that breaks up the wood-and-paint combination and adds sophistication.
- Keep the ceiling light. Painting ceilings white or off-white reflects light and makes wood-heavy rooms feel open rather than heavy.
Color selection also affects resale value directly. Neutral, modern paint colors appeal to the broadest pool of buyers and improve resale performance better than bold or highly personalized choices. Greige tones, warm whites, and soft sage greens have consistently outperformed saturated colors in buyer surveys tracked by the National Association of Realtors.
How do you maintain painted wood upgrades over time?
Maintenance is where the long-term value of paint and wood upgrades is either preserved or lost. These materials are durable, but they require consistent attention in high-use areas.
Polish hardwood floors every 4–6 months to maintain their protective finish and prevent surface scratches from becoming deep gouges. This is a simple DIY task that costs under $30 in product and takes less than two hours for an average room. Professional hardwood floor repair becomes necessary only when the finish has worn through to bare wood, which regular polishing prevents.
Painted cabinetry and trim require touch-ups in high-contact zones. Cabinet doors near handles, trim at door edges, and baseboards in hallways all show wear first. Keep a small amount of the original paint in a labeled container for spot repairs. A two-inch brush and fifteen minutes of work every six months keeps painted surfaces looking fresh.
Hardware replacement is a low-cost maintenance upgrade that refreshes the look of painted cabinets without repainting. Swapping dated brass pulls for matte black or brushed nickel costs $75–$600 depending on quantity and quality, and it takes under an hour with a screwdriver.
Pro Tip: Label your leftover paint cans with the room name, finish, and date applied. When you need a touch-up two years later, you will have the exact color and sheen without guessing or buying a full gallon.
Key Takeaways
Paint and wood remain the most cost-effective materials for affordable home renovations, delivering high visual impact and measurable ROI without structural changes.
| Point | Details |
|---|---|
| Paint delivers the highest ROI | Painting multiple rooms costs under $500 and outperforms most other home improvements per dollar spent. |
| Wood trim adds value for under $200 | Projects like board and batten and picture frame molding create a custom look at minimal material cost. |
| Prep work determines durability | Stain-blocking primer, degreasing, and caulking separate lasting results from premature paint failures. |
| Neutral colors protect resale value | Modern neutral paint tones appeal to the broadest buyer pool and improve resale performance. |
| Regular maintenance extends upgrade life | Polishing floors every 4–6 months and touching up painted trim keeps surfaces looking new for years. |
What I have learned after years of working with paint and wood
After working with paint and wood across hundreds of projects in Central Illinois, the clearest lesson is this: homeowners consistently underestimate prep work and overestimate the importance of the topcoat. The paint color gets all the attention. The primer and surface preparation do all the actual work.
The second thing I have observed is that simplicity wins. Keeping wood projects clean-lined and simple maximizes both appeal and resale value. Over-customizing with elaborate carved details or highly specific stain colors narrows the audience for your home and can reduce its market value. The projects that hold their value are the ones that look like they belong in any well-designed home, not just yours.
Paint, used well, is the single most powerful tool a homeowner has. It is not glamorous. It does not require a contractor. But a room painted in the right neutral with clean, caulked trim reads as expensive in a way that most buyers cannot quite articulate. They just know the house feels well-cared-for. That perception is worth real money at resale, and it costs under $500 to create.
— Wood
Woodmadeillinois: your local partner for wood and paint upgrades
Woodmadeillinois brings over 100 years of combined carpentry experience to homes and businesses across Central Illinois. Whether you need a full cabinet painting service or a custom wood accent wall, the team handles projects of every scale with the same attention to prep, finish, and detail that separates lasting work from quick fixes.
For homeowners who want professional results without the guesswork of a full renovation, Woodmadeillinois offers personalized design consultations and custom installations. The trusted local carpentry experts at Woodmadeillinois work within your budget to identify the highest-impact paint and wood upgrades for your specific space. Contact the team today to schedule a consultation and see what your home is capable of.
FAQ
What is the highest ROI home upgrade using paint?
Interior painting delivers the highest ROI per dollar among common home improvements, with multiple rooms refreshed for under $500. Painting cabinets and trim compounds that return further without requiring replacement.
How much do wood trim upgrades typically cost?
Wood trim projects like board and batten, picture frame molding, and chair rails cost under $200 in materials for an average room. Labor is the homeowner’s time, making these among the most cost-effective DIY projects available.
What paint colors improve resale value most?
Neutral, modern paint colors such as warm whites, greige tones, and soft sage greens appeal to the broadest buyer pool and consistently outperform bold or highly personalized color choices at resale.
How often should hardwood floors be maintained?
Polish hardwood floors every 4–6 months to preserve their protective finish and prevent surface wear from progressing to deeper damage. This simple routine extends the life of the floor significantly between professional refinishing cycles.
Why does primer matter so much when painting wood?
Stain-blocking primer prevents tannins and old stains from bleeding through the topcoat, and it creates the adhesion surface that keeps paint from peeling prematurely. Skipping primer on wood or non-porous surfaces is the most common cause of early paint failure.