An appliance garage cabinet is a compartment, usually with a door that tucks away or lifts up, that hides the toaster, coffee maker, mixer or air fryer while leaving each one plugged in and within reach. Done well, it clears the counter in seconds. Done badly, it traps steam, hides dead outlets and looks like a box someone stuck on a wall. This guide covers the decisions that separate the two: where it goes, how big it should be, what door to use, how the electrical works, and what a custom carpenter does that a stock box cannot.
TL;DR
- A garage works best where you already use the appliances: beside the range, at a coffee station, or in a full-height cabinet set apart from the main work area.
- Plan the outlet inside the garage, but remember it will not count toward your required countertop receptacles under the 2023 National Electrical Code.
- Check each appliance maker’s clearance rules before closing the door on a hot, steamy machine.
- Pocket-door hardware and wall finish must be decided during rough framing, not after the cabinets arrive.
- Custom-built units fit your real dimensions and match the interior quality of the rest of the kitchen, which stock boxes rarely do.
Table of Contents
- What an appliance garage actually does
- Where to put it
- Sizing: start with the gap, then the appliance
- Choosing the door
- Power, code and the outlet question
- Heat, steam and airflow
- Build details that make it look expensive
- Appliance garage ideas that work in real kitchens
- Build it yourself, buy stock, or hire a carpenter
- Our perspective: treat the garage as furniture, not an accessory
- Planning your project with us
- A short planning checklist
- FAQ
- Sources
What an appliance garage actually does
The idea is old, but it keeps coming back. Houzz notes that appliance garages have been around for decades and are enjoying a resurgence as homeowners look for ways to keep counters clear. The appeal is simple: the appliances you use daily stay ready, and the visual noise disappears.
There is a second use that gets less attention. As one homeowner who installed one reports in Tom’s Guide, the space is also a good home for the less attractive gadgets and for appliances you use only now and then, since those do not need to sit at arm’s reach.
So before you pick a style, sort your appliances into three groups:
- Daily, plugged in: coffee maker, toaster, kettle. These need power inside the garage and a door that stays out of the way.
- Weekly: stand mixer, blender, air fryer. These can sit on a pull-out shelf or a rolling tray.
- Occasional: slow cooker, waffle iron, food processor. These belong on a shelf with no outlet, or in a lower cabinet altogether.
Most kitchens only need the first group in the garage. Trying to fit all three is how a garage ends up crowded and unused.
Where to put it
Placement matters more than style. The common options:
| Location | Best for | Watch out for |
|---|---|---|
| Counter-standing, under wall cabinets | Toaster, coffee maker, small mixer | Height of the gap between counter and upper cabinets |
| Built into a corner | Using dead corner space | Door swing and reach depth |
| Full-height cabinet | A coffee or breakfast station set apart from the main work area | Needs wall space and a dedicated circuit plan |
| Pantry-style cabinet with pocket doors | Minimalist, handleless kitchens | Framing, hardware and finish specs |
| Lower drawer or pull-out | Heavy mixers and blenders | Cord management, no counter access |
The full-height option is worth a look if your kitchen has the room. Houzz describes a garage built into a full-height cabinet and set apart from the main work area as a natural coffee or breakfast station. It keeps morning traffic out of the cook’s way, which matters in a household where one person makes coffee while another cooks.
Sizing: start with the gap, then the appliance
Counter-standing garages are shaped by the space they fill. In a typical kitchen the countertop sits around 36 inches high and wall cabinets hang about 18 inches above it, so many ready-made garages are around 24 inches wide and 18 inches tall. That is a starting point, not a rule. Your kitchen may have taller uppers, a backsplash tile line, or a window that changes everything.
Measure your actual appliances, with the lid open or handle extended, then add:
- Height: the tallest appliance with its lid raised, plus about an inch if the door lifts. A tip-up door needs more headroom than a sliding one.
- Depth: the deepest appliance plus cord and plug. Counters are generally about 24 inches deep, and a garage that sits flush to the wall can use nearly all of that.
- Width: the sum of what must sit side by side, plus a few inches so you can slide things in without scraping.
A stock cabinet gives you one answer. A custom build lets the opening follow your appliances. If your espresso machine is 17 inches tall and your cabinets are 54 inches high, you will find out quickly why a one-size box disappoints.
Choosing the door
The door decides how pleasant the garage is to live with every morning.
Tambour (roll-up) doors
The classic. Slats roll up into the cabinet and take no counter space. Good for shallow garages, though they eat into the interior depth and can collect crumbs in the track.
Lift-up and bi-fold doors
These open upward and stay out of your way. They need clearance above the opening and sturdy hinges or gas lifts, since the door is often heavy when built in solid wood.
Hinged doors
Simple, strong and easy to repair. They need swing room and can bump into a nearby faucet or other cabinet door.
Pocket doors
The cleanest look: both doors slide into the cabinet sides and disappear. The tradeoff is construction. According to Renovate and Plan, pocket-door hardware for seamless garages must be specified during rough framing, not the finish stage, and adding the tracks later needs 4 inches of stud-bay clearance and costs roughly twice as much as installing them at the start. The same source recommends soft-close hydraulic dampers, a $150 to $400 upcharge, so the doors do not slam and break the illusion of a hidden cabinet.
If you are already opening the wall, this is the moment to decide. If you are not, hinged or lift-up doors are the more practical choice.
Power, code and the outlet question
Most people want the outlet inside the garage so the coffee maker can stay plugged in. That works, with one important caveat from the electrical code.
Under the 2023 edition of the National Electrical Code, section 210.52©(3), receptacle outlets rendered not readily accessible by appliance garages are not counted toward the required number of kitchen countertop receptacles. In plain terms: an outlet hidden behind a garage door does not satisfy your countertop outlet requirement. You still need the full set of accessible outlets along the counter, and the garage outlet is an extra.
What that means in practice:
- Plan the countertop outlets first, then add the garage outlet as a bonus.
- Have a licensed electrician install and inspect any new circuit or outlet. Adopted code editions differ by state and municipality, so confirm which version your local building department enforces before wiring is run.
- Locate the outlet where cords reach without stretching, usually on the back wall or inside a side panel.
If you are remodeling, tell your carpenter and electrician about the garage early. Running the box in the right place during rough-in is far cheaper than patching a finished wall.
Heat, steam and airflow
A closed cabinet changes how small appliances behave. As Tom’s Guide reports from its own product testing and design insight, these machines generate heat and moisture in a confined box, so checking each manufacturer’s clearance guidelines is a safety prerequisite, not a style preference.
Some practical rules that follow from that:
- Read the manual. Toasters, air fryers and pressure cookers often specify the space needed above and behind them.
- Never run a hot appliance with the door shut unless the manufacturer permits it. Open the door first, then start the machine.
- Let things cool before closing the door on a kettle or toaster oven.
- Ventilate when needed. A small gap at the back or a discreet vent in the top panel helps heat escape, and a carpenter can build it in without spoiling the look.
- Choose moisture-resistant finishes inside. Steam from a coffee maker and kettle will find unsealed edges.
Cleaning matters too. Crumbs and splatter collect in a closed box, and a short weekly wipe-down keeps it from becoming a problem. If you want a simple routine to borrow, this set of kitchen cleaning rules for shared workplaces translates well to a home kitchen: clear, wipe and reset after each use.
Build details that make it look expensive
A hidden compartment only impresses if it is as well made as the cabinet around it. Two details come up again and again.
The inside has to match the outside. Renovation designer Theo Caldwell, writing in Renovate and Plan, calls the architectural illusion of a hidden garage fragile: the interior materials must equal or exceed the quality of the exterior, because a cheaper interior is apparent the moment the door opens. We agree. A rough melamine box behind a beautiful maple door undermines the whole cabinet.
The wall behind it must be flat. For handleless, minimalist kitchens with a garage set flush in the wall, the same source says the drywall behind the cabinetry should be specified at a Level 5 finish, skim-coated for flatness. A standard finish can leave undulations visible on the cabinet faces, and the source puts the premium for skim-coating at $0.50 to $0.80 per square foot. On a small wall that is a modest cost for a lasting result.
Other details worth specifying:
- A hardwood or hardwood-veneer interior, sealed on all surfaces.
- A pull-out or slide-out shelf so heavy appliances roll forward instead of being lifted.
- A cord notch or grommet so the door closes cleanly on the cable.
- Under-cabinet or interior LED lighting if the garage is deep.
- A countertop edge that matches the surrounding run, so the garage reads as part of the kitchen.
Appliance garage ideas that work in real kitchens
The coffee station
A full-height cabinet with a shelf for the machine, a drawer for pods or beans, and a shallow shelf for mugs. Because it sits apart from the cooking zone, it becomes the breakfast corner.
The toaster-and-mixer corner
A corner garage uses space that otherwise goes to waste. Pair it with a pull-out shelf so a mixer comes forward without strain.
The pocket-door wall
In a minimalist kitchen, two doors slide away and the whole run reads as one clean plane. It needs planning at the framing stage, as noted above, but it is the most refined option.
The pallet-wood and rustic version
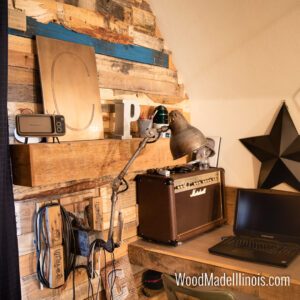
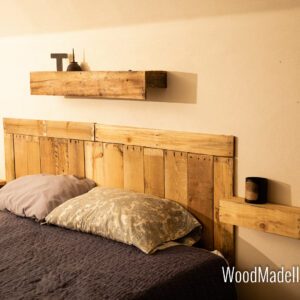
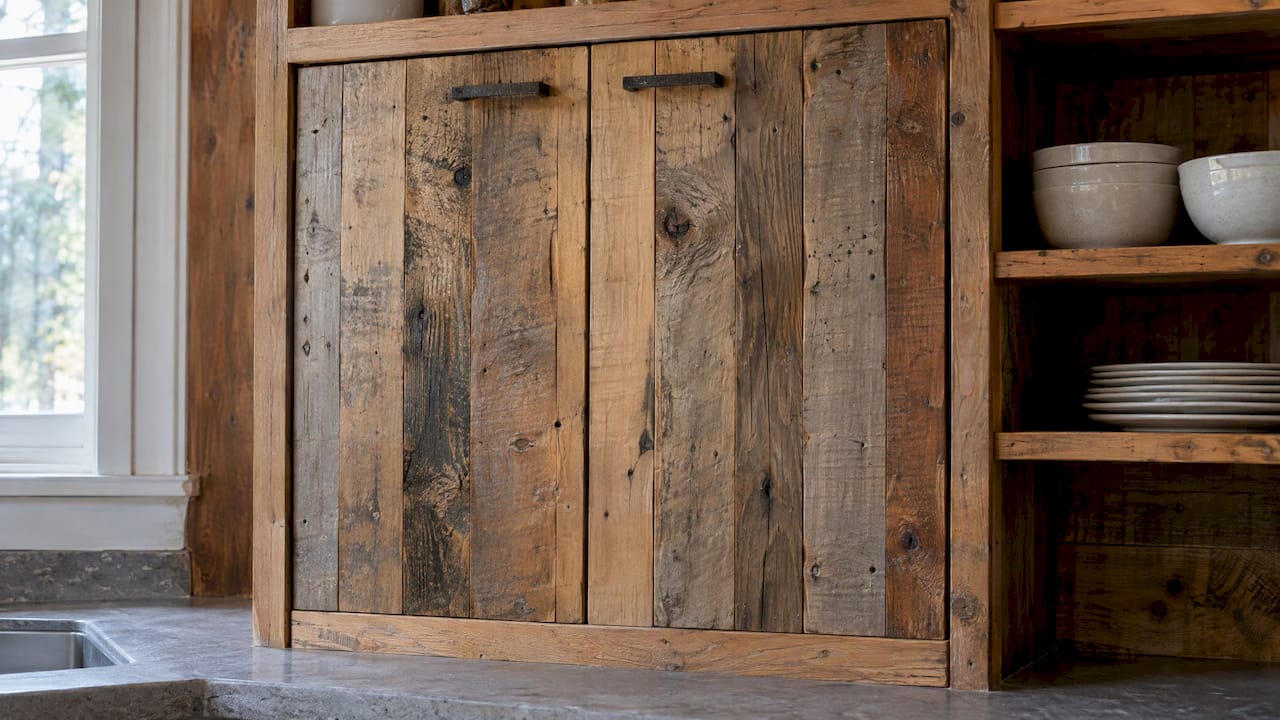
For a farmhouse or cabin look, a garage faced in reclaimed wood or pallet boards pairs well with an open-shelf kitchen. This is a technique we use often. Pallet wood needs careful sorting, sanding and sealing, but it brings texture and keeps costs sensible.
The small-kitchen solution
In a compact kitchen where every inch counts, a slim garage with a lift-up door can replace a cluttered corner of the counter, freeing room to prep.
Build it yourself, buy stock, or hire a carpenter
Readers often ask whether it is cheaper to build or buy. The honest answer depends on what you value.
| Option | Strengths | Limits |
|---|---|---|
| Stock garage cabinet | Fast, predictable, no design work | Fixed sizes; may not match your cabinet line, finish or the gap you have |
| DIY build | Low materials cost if you own tools and have skill | Door hardware, ventilation and finishing are easy to get wrong |
| Custom carpentry | Sized to your appliances, matched to your cabinets, built with proper interior materials | Higher cost than stock; needs scheduling |
If your kitchen is a standard layout and you are happy with a basic box, stock is reasonable. If your cabinets are older, your gap is irregular, or you want pocket doors, custom work usually saves frustration. A carpenter can scribe the unit to an uneven wall, match the stain, and build in ventilation and cord routing.
Our perspective: treat the garage as furniture, not an accessory
We build kitchens, built-ins and storage across Central Illinois, and the appliance garage is one of the most satisfying small projects we are asked to do. The mistake we see most is treating it as an add-on. A garage is a piece of cabinetry that gets opened several times a day, so hinges, glides and interior finish take daily wear.
Our advice is to start with how you live. Watch your own mornings for a week and note what you reach for. Build the garage around those two or three machines, not around every gadget you own. Then decide the door by how much clearance the room gives you, not by what looks best in a photograph.
We also recommend paying attention to materials you can see only when the door opens. A solid hardwood interior, a properly sealed surface and a tidy cord path are what make the cabinet feel finished. Our team brings over 100 years of combined carpentry experience to this kind of work, and we are happy to talk through the options in a design consultation before anything is cut.
— Wood
Planning your project with us
If you are remodeling a kitchen in the Peoria or Bloomington area, an appliance garage fits naturally into a kitchen renovation or a cabinet service project. We build to order, and our built-in carpentry covers storage that fits your exact space. Pricing for built-ins is quoted per project, so there is no published price for a garage; send us your measurements and a photo of the wall, and we will walk through what is possible.
A short planning checklist
- List the two or three appliances you use every day.
- Measure each one with lid open, plus cord and plug.
- Measure the gap between countertop and upper cabinets, and the counter depth.
- Decide on the door type while walls are still open, if you are remodeling.
- Confirm outlet location and code requirements with your electrician and local building department.
- Check each appliance manual for clearance and ventilation rules.
- Specify interior materials that match the exterior.
- Ask for soft-close hardware and a flat wall finish if you are choosing pocket doors.
FAQ
Are appliance garages a good idea?
Yes, if you use the same few appliances every day and want clear counters. They are less useful if you rarely cook or if the appliances you use are too tall or too hot for a closed space. Ventilation and manufacturer clearance guidance should be part of the plan.
Is it cheaper to build your own garage cabinet or buy one?
A stock cabinet is often the lowest-cost route for a standard kitchen, and a DIY build can cost less in materials if you have the tools. Custom carpentry costs more but fits your exact gap and cabinet style. Pocket doors, ventilation and finish quality are where a custom build earns its price.
Does an outlet inside an appliance garage count toward code?
Not under the 2023 National Electrical Code. Outlets made not readily accessible by an appliance garage are not counted toward the required countertop receptacles. Ask your local building department which code edition applies, and have a licensed electrician do the wiring.
How do I make an appliance garage cabinet?
Measure your appliances, build a face-framed or frameless box sized to them, add a door and a sealed interior, and plan the outlet and ventilation. The door hardware is the hardest part, especially pocket doors. If you are not confident with joinery or electrical work, hire a carpenter and an electrician.
Sources
- Renovate and Plan: The Un Kitchen, Hidden Pantries and Appliance Garages
- Tom’s Guide: I finally installed an appliance garage in my kitchen
- Houzz: 25 Ideas for Kitchen Appliance Garages
- NFPA 70 (2023 NEC) 210.52©(3) committee document