If your house still wears its original wood windows, professional restoration is almost always the better first move over replacement. A qualified restorer can revive the sash, tighten up drafts, and keep the glass and profiles that give a period home its face. Schedule a condition assessment, get a written scope of work, and let that document, not a sales pitch, guide your decision.
TL;DR:
- Restoring original wood windows usually involves off-site sash repairs, reglazing, hardware servicing, weatherstripping, and multiple finish coats, which can last decades.
- Air leakage around the sash, not the glass, is typically the main source of energy loss, and sealing with weatherstripping plus storm windows often closes the performance gap.
- Cost varies based on rot extent, number of sashes needing shop work, and the need to salvage or match original glass, with detailed quotes breaking out labor, materials, and scope.
- A thorough condition assessment and detailed, line-item estimates are essential before deciding on restoration, and avoid contractors who jump straight to replacement without inspection.
- Preservation rules may restrict or require approval for window work in historic districts, but repairs are often favored over replacement to maintain character and minimize delays.
Table of Contents
- What a Historic Home Window Service Actually Includes
- Why Restoring Original Windows Beats Replacement
- How the Restoration Process Works, Step by Step
- What Drives Cost, and How to Read a Quote
- Choosing a Qualified Restorer: What to Ask and What to Avoid
- Wood Made Illinois: Experience Behind the Sash
- Keeping Restored Windows in Shape for Decades
- Materials and Paint Types That Belong on a Historic Window
- Preservation Rules That Can Affect Your Window Project
- Our Take: Preservation Is a Discipline, Not a Sales Pitch
- Get an Estimate for Your Historic Windows
- Sources
- FAQ
What a Historic Home Window Service Actually Includes
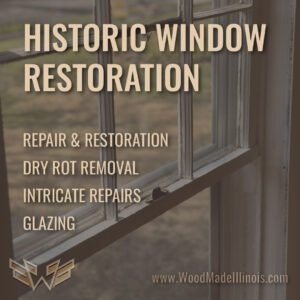
A proper historic home window service starts with an inspection, not a quote. A trained restorer opens each sash, checks the meeting rail, probes the sill for rot, and writes up a condition report noting exactly which failure modes are present, whether that’s failed glazing putty, broken sash cords, or soft wood at the bottom rail.
From there, the real craft work happens mostly off-site. Sashes get removed, numbered, and trucked to a shop where the finer repairs take place under controlled conditions.
- Dutchman patches and epoxy consolidation to rebuild rotted wood without losing original material
- Reglazing with glazing putty or compound, matched to the sash profile
- Hardware servicing, including pulley lubrication and sash cord or chain replacement
- Weatherstripping installation and, where wanted, storm window fitting
- Multi-coat priming and painting, finished with an on-site fit check before reinstallation
Firms describing this scope consistently note that shop repairs, hardware servicing, and reglazing produce more durable results than patchwork fixes attempted entirely in place.
Why Restoring Original Windows Beats Replacement
Old-growth wood, the kind milled a century or more ago, is denser and more rot-resistant than most lumber available today. That’s one reason a well-maintained window from 1910 can outlast a vinyl replacement installed in 2005. Preserving that original sash keeps the wavy glass, the muntin profiles, and the proportions that define your home’s character.
Restoration typically wins on:
- Retaining historic material and visual authenticity
- Life-cycle cost, since a restored sash can last decades longer than most replacement units
- Repairability, since a damaged section can be patched rather than the whole unit discarded
Here’s the piece that surprises most homeowners: the biggest energy loss in an old window usually comes from air leakage around the sash, not from the single pane of glass itself. Sealing that gap with weatherstripping and adding a storm window closes most of the performance difference with a new unit, according to preservation guidance on window energy efficiency.
Replacement still makes sense when rot has spread past the point of structural repair, or when a landmark commission or building code requires exact replication. The Kirkland Hall restoration shows how far that middle path can go: 240 windows were reverse engineered and upgraded to double-pane insulated glazing while keeping the historic silhouette intact.
How the Restoration Process Works, Step by Step
Most historic window projects follow a consistent sequence, whether you’re restoring three windows or thirty.
- Estimate and documentation. The restorer photographs and catalogs each window, noting glazing condition, hardware, and paint layers.
- Lead-safe removal. Where old paint is present, crews follow lead-safe containment and cleanup procedures during sash removal, a standard practice documented in the National Park Service’s Building 22 restoration.
- Shop work. Sashes are stripped, repaired with dutchman patches or epoxy where needed, reglazed, and primed with multiple finish coats.
- On-site reinstallation. Weatherstripping goes in, storm windows are fitted if ordered, and each sash is reinstalled and adjusted for smooth operation.
Timelines vary by scope. A single-window repair might take one to two weeks once it reaches the shop. A small project of 10 to 25 windows often runs four to eight weeks, largely because paint curing and glazing compound need real time to set properly. Whole-house projects can stretch several months, especially when weather delays exterior work or hidden rot expands the repair list mid-project.
Pro Tip: Ask your restorer how they sequence work room by room. Keeping at least half your windows operational at any point avoids leaving your house exposed for weeks at a stretch.
What Drives Cost, and How to Read a Quote
Cost swings widely because so much depends on condition, not just square footage. The biggest drivers are the extent of rot repair needed, how many sashes require full shop treatment, whether original wavy glass has to be salvaged or matched, and how much specialty hardware needs sourcing.
A trustworthy itemized quote should break out:
- Per-window line items, not a lump sum for the whole house
- Separate labor for shop repairs versus on-site labor
- Glazing and glass costs listed apart from paint and finish work
- Weatherstripping and storm window options priced individually
Watch for quotes that skip rot assessment entirely and jump straight to a flat “replace and repaint” number, that’s usually a sign the estimator never opened the sash. Many homeowners phase the work, tackling the worst-performing windows first, then handling weatherstripping and storms in a second pass once budget allows.
Choosing a Qualified Restorer: What to Ask and What to Avoid
Not every contractor who touches old windows understands historic material. Vetting matters as much as the repair itself.
- Check for preservation-specific experience. Ask to see a portfolio of similar-era window projects and speak with at least one past client.
- Confirm lead-safe practices. Any firm working on pre-1978 homes should describe containment and cleanup procedures without you having to ask twice.
- Ask how shop and field work are divided. A restorer who does everything on a ladder in your yard is cutting corners that shop conditions exist to prevent.
- Request specifics on glazing, weatherstripping, and warranty terms. Vague answers here usually mean vague work later.
Red flags include a contractor who recommends replacement before ever inspecting the sash, a quote with no line-item breakdown, and any reluctance to document existing conditions with photos before work begins. The Window Preservation Alliance maintains guidance and a directory built specifically to help homeowners find restorers who meet these standards.
Wood Made Illinois: Experience Behind the Sash
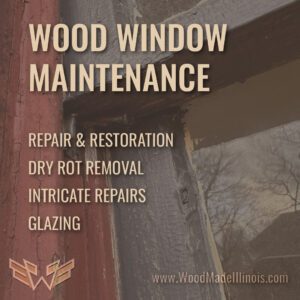
Wood Made Illinois brings more than 100 years of combined carpentry experience to sash repair, glass repair, and dry rot and stile repair on period homes across Central Illinois. Work follows the same shop-then-field workflow used on institutional restoration projects, with lead-safe handling wherever old paint layers are present.
Before your estimate, gather photos of each window showing visible rot, peeling glazing putty, or broken hardware, and count how many sashes are affected. That documentation lets the assessment move faster and gives you a clearer, more accurate scope from the first visit.
Keeping Restored Windows in Shape for Decades
Restoration isn’t a one-time fix you forget about. It’s the start of a maintenance rhythm that, done right, can stretch decades between major interventions.
Plan on repainting the exterior finish every seven to ten years, depending on sun exposure and your local climate. Watch the paint film closely on south and west-facing elevations, since UV exposure breaks down coatings faster there. When you spot cracking or peeling, address it promptly. Paint is the skin protecting the wood underneath, and a small failure left alone becomes a rot problem within a season or two.
Twice a year, run each sash up and down fully. Sashes that stick usually need nothing more than a light wax on the tracks or a pulley adjustment, not a repair call. Vacuum out the sash pockets where dust and debris accumulate, since that buildup traps moisture against the wood.
Check glazing putty annually for hairline cracks, especially after a hard winter. Reglazing a section before water gets behind the glass is a small job. Letting it go until the sash swells is not.
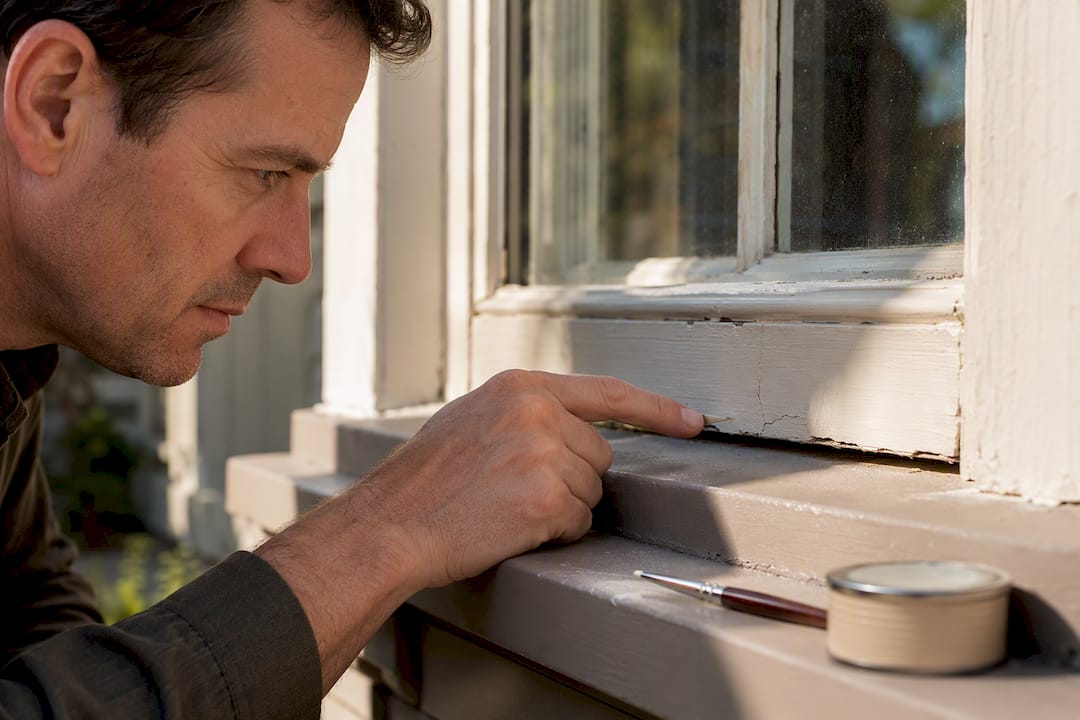
If you added storm windows, clean the weep holes at the bottom rail each spring so condensation has somewhere to drain. And keep an eye on the sill and apron for any softness when you press a screwdriver tip into the wood, this is your earliest warning of rot, well before paint failure makes it visible from a distance.
Materials and Paint Types That Belong on a Historic Window
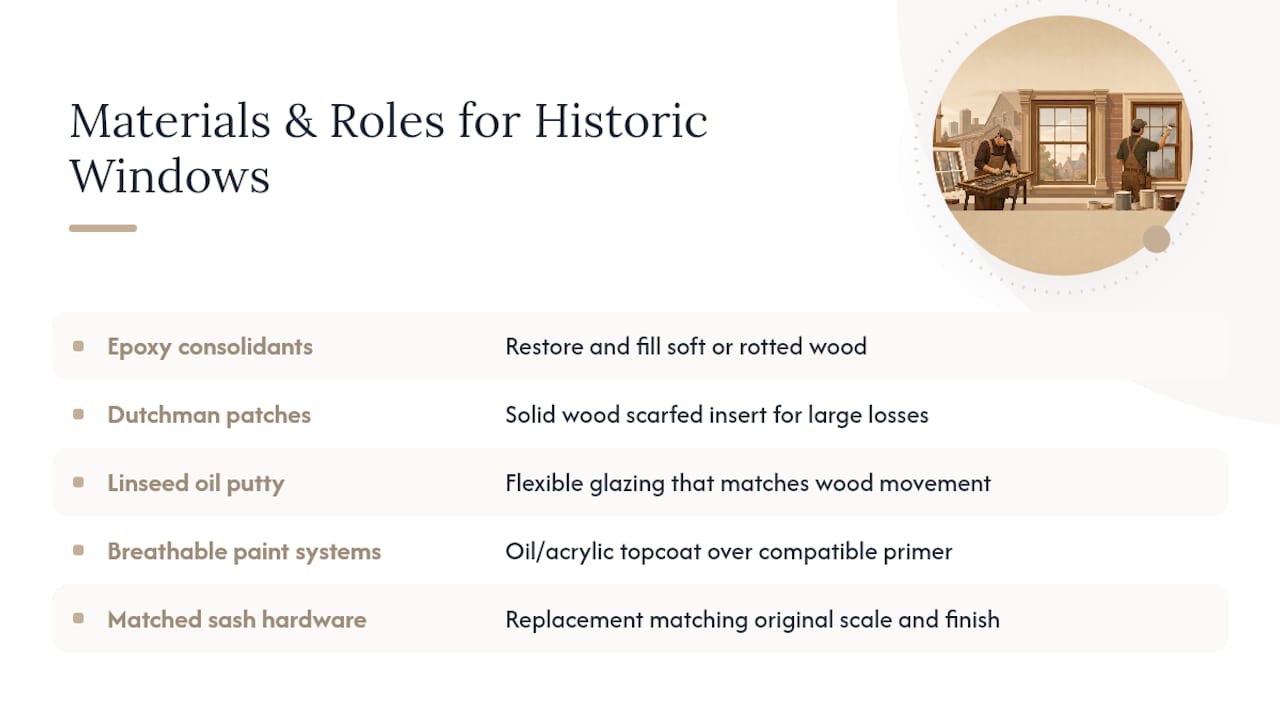
Getting the materials right matters as much as the labor. Historic sash was built from old-growth, tight-grained wood, and any patch material needs to move with that wood through seasonal humidity swings rather than fighting it.
For structural repairs, two-part epoxy consolidants and fillers are the standard choice for restoring soft or partially rotted sections without removing sound original wood. Dutchman patches, solid wood inserts scarfed into a damaged area, handle larger losses where epoxy alone won’t carry the load.
Glazing compound matters more than most homeowners realize. Traditional linseed oil-based glazing putty remains the preferred choice for wood sash because it cures slowly and stays flexible, matching the wood’s own movement. Modern silicone sealants can look similar but tend to crack away from old-growth wood over time since they don’t flex the same way.
Paint choice deserves equal attention. A high-quality, breathable exterior oil or acrylic topcoat over a compatible primer allows some moisture vapor to escape rather than trapping it behind the film. Avoid painting over unstripped, alligatored layers of old paint. That old finish traps moisture and accelerates the same rot the restoration was meant to fix.
Any hardware replaced during the work, sash lifts, pulleys, sash locks, should match the original in scale and finish where possible, since mismatched modern hardware is one of the fastest ways to undercut a careful restoration visually.
Preservation Rules That Can Affect Your Window Project
If your home sits within a designated historic district or carries local landmark status, window changes often require review before work begins. Many municipal preservation commissions require approval for any exterior alteration visible from the street, and that can include replacement, though most commissions distinguish clearly between repair and replacement in their review criteria.
Some jurisdictions offer a faster or exempt path for in-kind repair, meaning you patch or restore existing material, while requiring full commission review for full sash or unit replacement. That distinction alone is often reason enough to lean toward restoration: it can mean fewer permitting delays and a smoother project timeline.
If your property carries a preservation easement or is listed individually on a historic register, additional documentation requirements may apply, sometimes including photographs before and after work and notification to a local preservation office. Rules vary significantly by city and county, so confirm requirements with your local preservation commission or planning department before signing a contract. A restorer experienced in your area will typically know these requirements already and can flag potential review issues during the initial assessment rather than after work has started.
Our Take: Preservation Is a Discipline, Not a Sales Pitch
The window replacement industry has spent decades convincing homeowners that old equals inefficient and new equals responsible. That framing doesn’t hold up against the actual physics. Air sealing and storm windows close most of the performance gap that replacement salespeople use to scare people into ripping out original sash, and the Window Preservation Alliance’s own guidance backs that up directly.
What conventional advice gets wrong is treating restoration like a single transaction instead of a phased capital project. The homeowners who do this well don’t try to fix every window in one summer. They stabilize the worst offenders first, add weatherstripping and storms next, and cycle through finish work over several years. That approach protects the historic fabric of the house while spreading cost in a way a single all-at-once replacement bid never allows.
Prioritize the assessment before anything else. A restorer who won’t open a sash before quoting a price isn’t giving you a real number, they’re giving you a guess.
— Wood
Get an Estimate for Your Historic Windows
Historic window restoration is often built around a shop-then-field approach including condition assessment, off-site sash repair, on-site reinstallation, and weatherstripping or storm window options tailored to each project. If you’re weighing repair against replacement, this is the practical, character-preserving route rather than a full teardown.

To move faster toward a quote, gather a few photos of each window showing visible rot, cracked glazing, or broken hardware, and count how many sashes need attention. That information lets the estimate reflect your actual scope instead of a generic per-window guess. Visit the Historic Window Restoration Services page to request an assessment, or browse historic home maintenance services to see how window work fits into a broader preservation plan for your property.
Sources
- NPS: Building 22 windows restoration
- Window Preservation Alliance
- Kirkland Hall, Historic Window Restoration | Huseman Group
FAQ
How much does historic window restoration cost?
Cost depends heavily on how much rot repair is needed, how many sashes require shop work, and whether original glass must be salvaged. Request an itemized, per-window quote rather than a flat whole-house number so you can see exactly where the money goes.
Is reglazing old windows worth it?
Yes, in most cases. Reglazing with traditional linseed oil putty restores weather-tightness and extends the life of original glass, and it costs far less than replacing the entire sash.
Does Andersen make windows for historic homes?
Major manufacturers like Andersen primarily produce new replacement units, not restoration services for existing original sash. For historic homes, a dedicated restoration contractor who repairs the original wood windows in place, rather than replacing them, is the preservation-first option.
How do I replace windows in a 100 year old house?
Full replacement in a century-old home should be a last resort, reserved for windows with structural failure beyond repair. Start with a condition assessment from a preservation-aware contractor to confirm whether restoration is possible before committing to replacement, and check with your local historic commission if your home falls under landmark review.